Irish Soda Bread
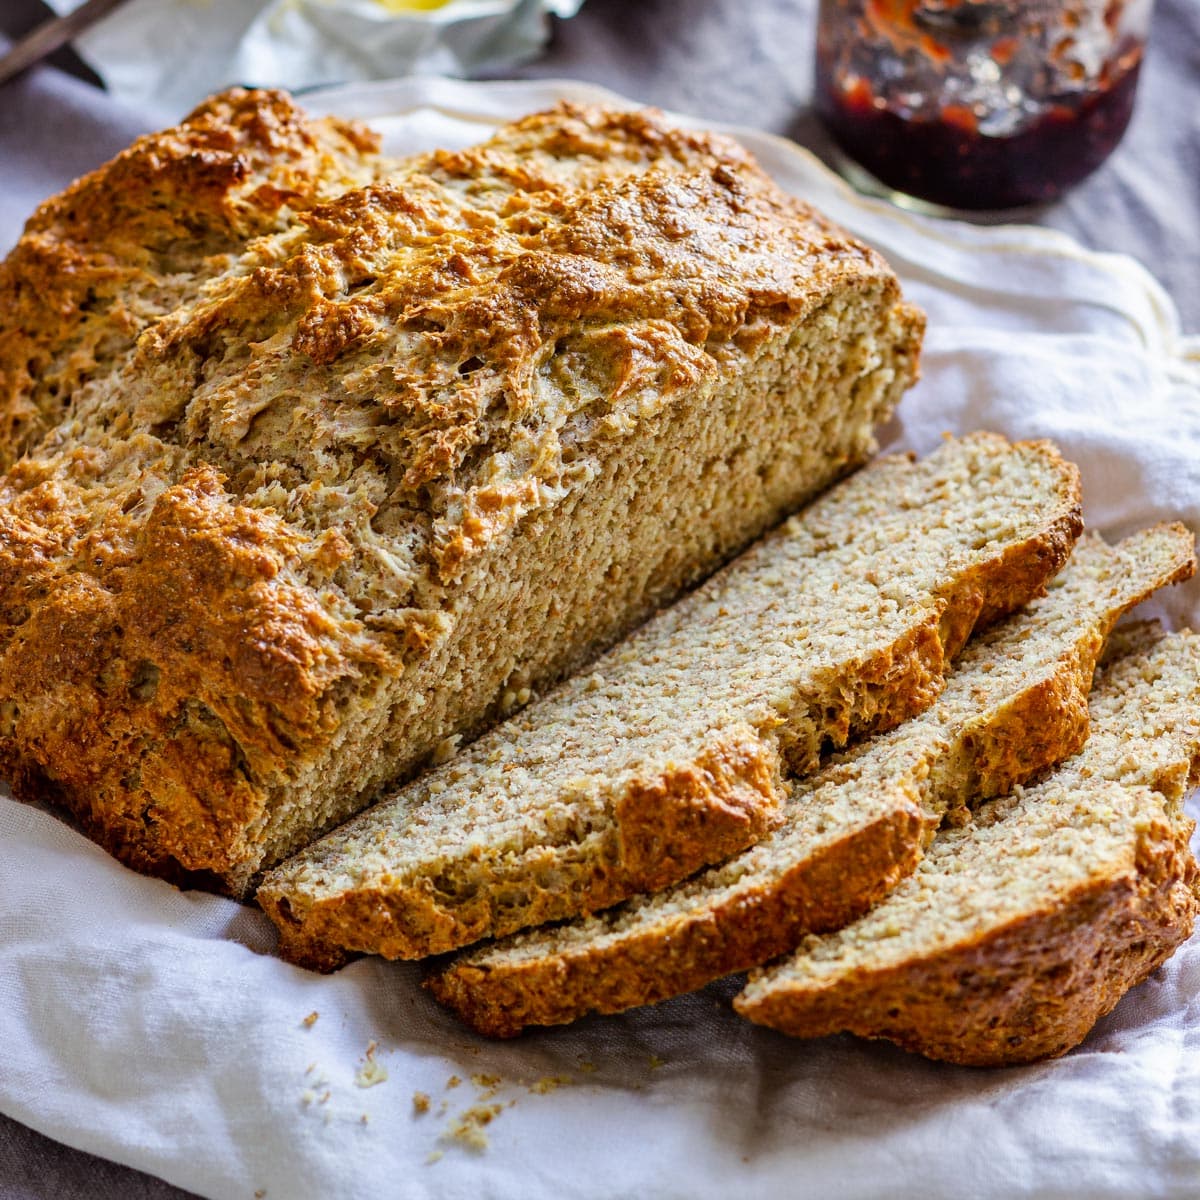
A craggy, golden round with a crackling crust and a soft, tangy crumb studded with raisins. No yeast, no rising time — it goes from bowl to oven in about fifteen minutes.
Ingredients
Makes 1 round loaf (12 wedges)
Dough
Finishing
Instructions
- 1
Heat the oven
Set a rack in the center of the oven and heat it to 400°F (204°C). Line a rimmed baking sheet with parchment, or set out a 10-inch cast iron skillet. The skillet gives you a darker, crisper bottom crust; the sheet pan gives you a slightly wider, flatter loaf. Either works.
- 2
Whisk the dry ingredients
In a large bowl, whisk the flour, sugar, baking soda, salt, and caraway seeds (if using) for a good twenty seconds. You want the baking soda evenly dispersed — any clumps left behind will taste soapy and leave yellow streaks in the baked loaf.
- 3
Cut in the butter
Add the cold cubed butter and work it into the flour with your fingertips, a pastry cutter, or two forks until the pieces are the size of small peas. There's a lot of flour and not much butter here, so it will look dry and sandy rather than clumpy — that's exactly right. Stir in the raisins so they get coated in flour and stay suspended in the dough.
- 4
Add the liquid
Whisk the buttermilk and egg together in a measuring cup, then pour them into the bowl all at once. Stir with a sturdy spoon or flexible spatula just until the flour is mostly moistened and the dough is too stiff to stir easily. It will look shaggy and uneven. Stop there — the longer you work it, the tougher the loaf.
- 5
Bring it together
Turn the dough and any loose crumbs onto a lightly floured surface. Knead gently, about eight to ten folds, just until it holds together in a rough ball. The dough should feel soft and slightly tacky. Add flour only a tablespoon at a time if it's sticking badly to your hands — a wetter dough bakes into a moister loaf, so resist the urge to dry it out.
- 6
Shape and score
Pat the dough into a round about 7 inches across and 2 inches tall, and set it on the parchment or in the skillet. With a sharp serrated knife, cut a cross into the top, going a full 1/2 to 3/4 inch deep and all the way across the loaf. That deep cut lets the dense center cook through before the crust overbrowns. Brush the top with the tablespoon of buttermilk.
- 7
Bake
Bake for 40 to 50 minutes, until the crust is deep golden brown and the loaf sounds hollow when you knock the bottom. An instant-read thermometer in the center should register 195 to 200°F (90 to 93°C). If the top is darkening fast at the 30-minute mark, lay a sheet of foil loosely over it and keep going.
- 8
Cool before slicing
Move the loaf to a wire rack and let it cool for at least 30 minutes, ideally an hour. The crumb is still setting as it cools, and cutting into it hot will give you a gummy slice. Cut into wedges or slice across the loaf.
You did it! Help us bring baking back home by selling your delicious baked goods on Homebaked!
Baker's Tips
- 1.
Buttermilk isn't optional in the way it looks — its acid is what reacts with the baking soda to lift the loaf. If you're out, stir 1 1/2 tablespoons of lemon juice or white vinegar into enough whole milk to reach 1 1/2 cups and let it sit for 10 minutes until it thickens slightly.
- 2.
Check the date on your baking soda. It's the only leavener in this bread, and a tired box means a squat, heavy loaf.
- 3.
Work fast once the buttermilk goes in. The rise starts the moment the acid meets the soda, and a dough that sits on the counter for twenty minutes before baking will have spent most of its lift.
- 4.
Scoring shallowly is the most common mistake. Cut deep enough that the cross stays open as it bakes — you should be able to see the cut widen within the first ten minutes in the oven.
- 5.
Swap the raisins for dried currants, chopped dried apricots, or leave them out entirely for a plainer, more savory loaf that's excellent with soup.
- 6.
This is a same-day bread by nature. Day-two slices are much better toasted and buttered than eaten plain.
Equipment
- Large mixing bowl
- Whisk
- Pastry cutter or two forks
- Flexible spatula or wooden spoon
- Rimmed baking sheet with parchment, or 10-inch cast iron skillet
- Sharp serrated knife
- Instant-read thermometer
- Wire cooling rack
Storage
Wrap the cooled loaf tightly in foil or seal it in a zip-top bag and keep it at room temperature for up to 3 days; the crust will soften, so refresh slices in a toaster. Avoid the refrigerator, which dries the crumb quickly. To freeze, wrap the whole cooled loaf or individual wedges in plastic, then foil, and freeze for up to 3 months. Thaw at room temperature and warm in a 300°F oven for 10 minutes to bring back the crust.