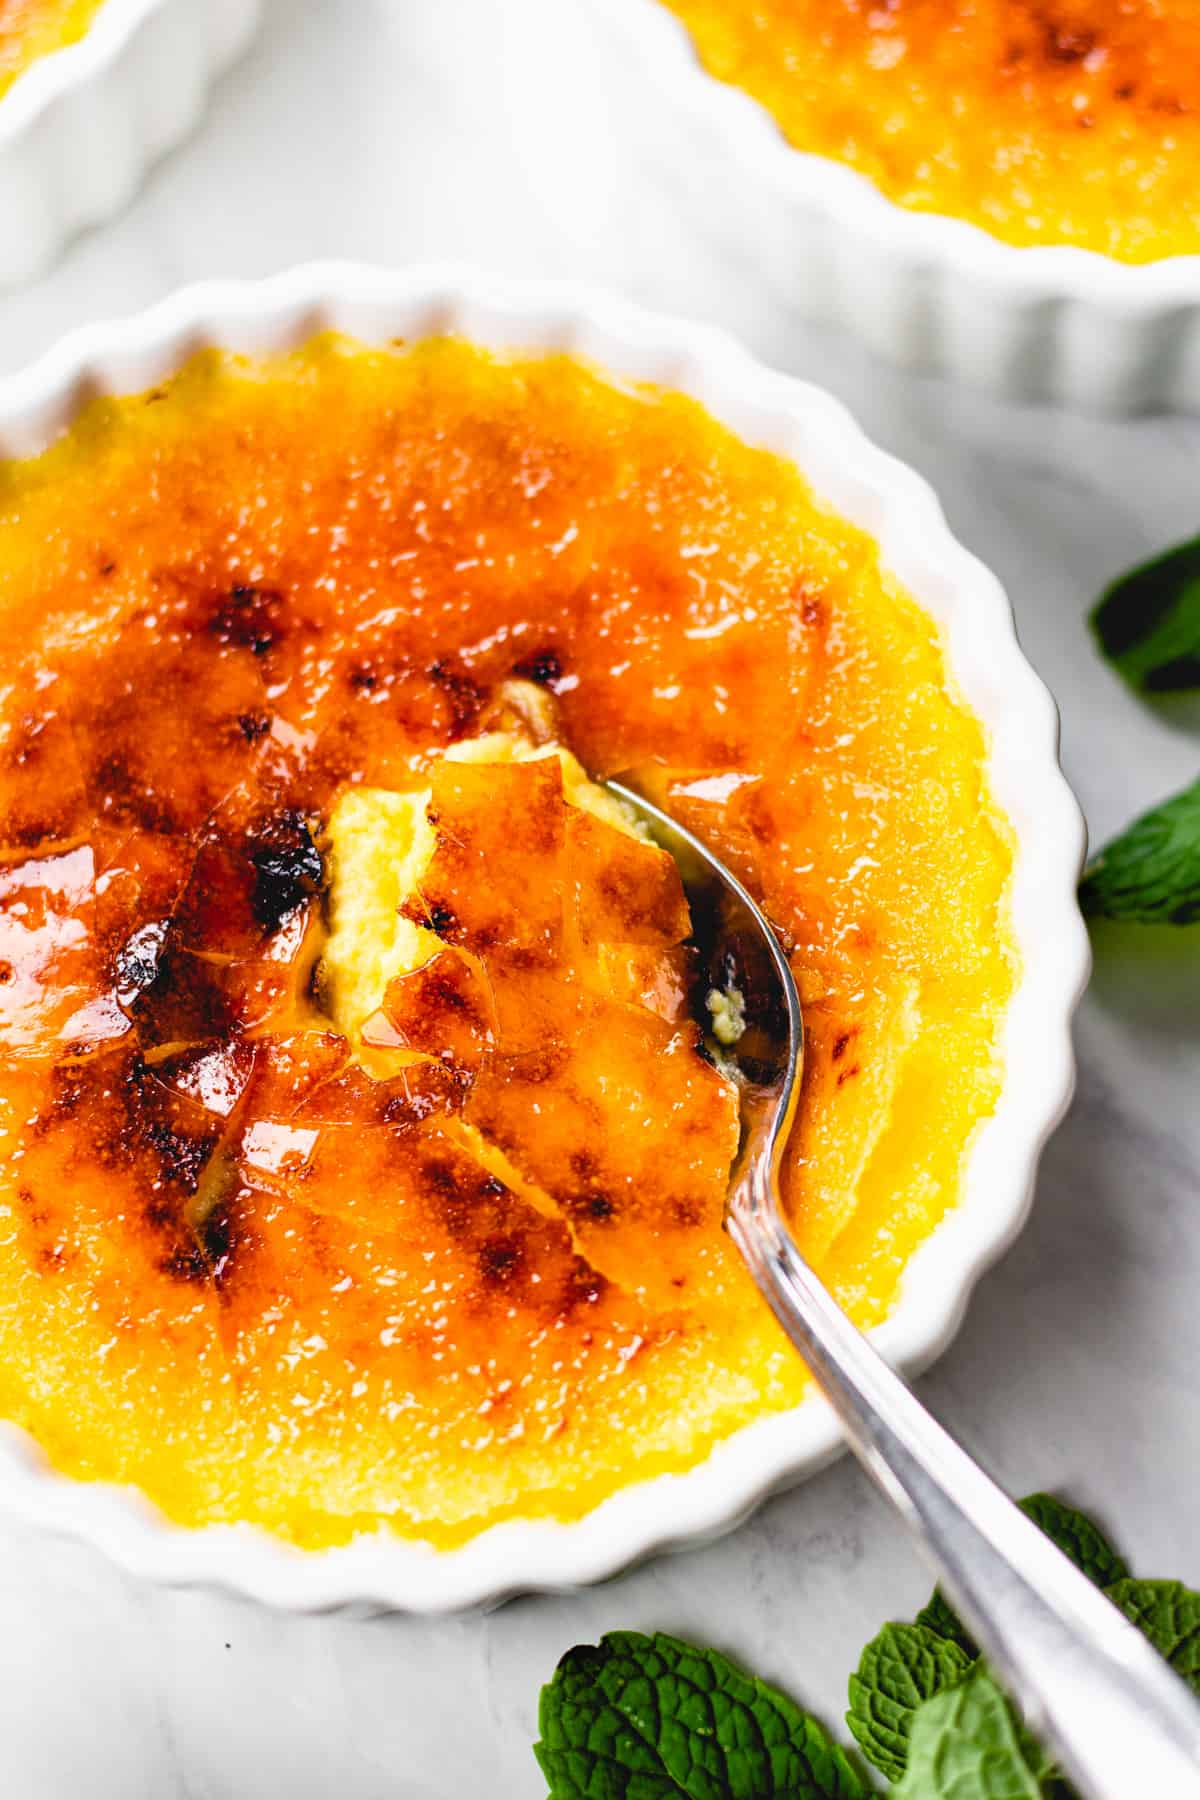
Classic Vanilla Crème Brûlée, Gluten Free
A cold, barely-set vanilla custard under a sheet of caramel thin enough to crack with the back of a spoon. It takes five ingredients and a water bath, and most of the work is waiting for it to chill.
Ingredients
Makes 6 custards
Custard
Caramelized top
Instructions
- 1
Check labels, then set up
There is no flour in this custard, so the only thing to verify is your vanilla: choose an extract or bean paste marked gluten-free, since a small number of brands use undistilled grain alcohol or wheat-based thickeners. Then heat the oven to 325°F with a rack in the middle. Fold a clean kitchen towel into the bottom of a roasting pan and set six 6-ounce ramekins on it. Put a kettle of water on to boil.
- 2
Infuse the cream
Combine the cream, half the granulated sugar (1/4 cup), the salt, and both the vanilla seeds and the scraped pod in a saucepan. Warm over medium heat, stirring now and then, until the sugar dissolves and small bubbles ring the edge of the pan — steaming, not boiling. Pull it off the heat, cover, and let it sit for 15 minutes so the vanilla has time to bloom into the fat.
- 3
Whisk the yolks
Whisk the yolks with the remaining 1/4 cup sugar just until smooth and slightly lightened, about 30 seconds. Stop there. Beating air into the yolks gives you a foamy, pocked custard instead of a dense one, and no amount of straining later will fix it.
- 4
Temper and combine
Fish out the vanilla pod. Whisking the yolks constantly, pour in about a cup of the hot cream in a thin stream, then another cup, then the rest. Going slowly at the start is what keeps the yolks from scrambling — once the first cup is in, the mixture is warm enough to take the rest quickly.
- 5
Strain and skim
Pour the custard through a fine-mesh sieve into a measuring cup or pitcher with a spout, then stir in the vanilla extract. The sieve catches any set bits of yolk and the chalaza, and it is the single step that separates a silky custard from a slightly grainy one. Skim off any foam on the surface with a spoon.
- 6
Fill and bake
Divide the custard among the ramekins, filling each to about 1/4 inch below the rim. Set the pan on the oven rack, then pour boiling water into the pan until it reaches halfway up the sides of the ramekins — pour at a corner, away from the custards. Bake 30 to 40 minutes. They are done when the outer inch is set and the centers wobble as a single soft mass when you nudge the pan; a thermometer in the middle should read 170–175°F. If the center still sloshes like liquid, give it another 5 minutes.
- 7
Cool, then chill hard
Leave the pan on a rack and let the ramekins sit in the water for 20 minutes, then lift them out with tongs and cool to room temperature. Refrigerate uncovered for 1 hour, then cover and chill at least 4 hours and ideally overnight. The custard needs to be thoroughly cold before torching, or the caramel will sink and melt into it.
- 8
Sugar and torch
Right before serving, blot each surface dry with a paper towel — condensation is the main reason sugar refuses to caramelize evenly. Sprinkle 1 teaspoon of sugar over each custard and tilt the ramekin to spread it into a thin, even film with no bare patches or drifts. Hold a kitchen torch 2 to 3 inches away and keep it moving in small circles until the sugar liquefies and turns deep amber. Pull back just before it looks as dark as you want. Let the crust harden for 2 minutes, then serve within about 15 minutes.
You did it! Help us bring baking back home by selling your delicious baked goods on Homebaked!
Baker's Tips
- 1.
No torch? Set the chilled ramekins on a sheet pan and slide them 3 inches under a preheated broiler for 2 to 4 minutes, rotating the pan and never looking away. Then chill the custards 15 minutes to re-firm the warmed top layer.
- 2.
Turbinado gives a thicker, more rustic crack; superfine or granulated sugar melts faster and gives a thinner, glassier pane. Both work — just keep the layer thin either way.
- 3.
For a crust that stays crisp longer on the table, torch one thin layer, wait 30 seconds, add a second light dusting, and torch again.
- 4.
Shallow, wide ramekins bake faster than tall narrow ones and give a better custard-to-caramel ratio. Start checking wide 4-ounce dishes at 22 minutes.
- 5.
Every ingredient here is naturally gluten-free, but check your vanilla extract label if you are baking for someone with celiac disease — a few bargain extracts use grain alcohol that hasn't been distilled to a safe standard.
- 6.
Save the scraped vanilla pod: rinse, dry it, and bury it in a jar of sugar for vanilla sugar you can use on the next batch.