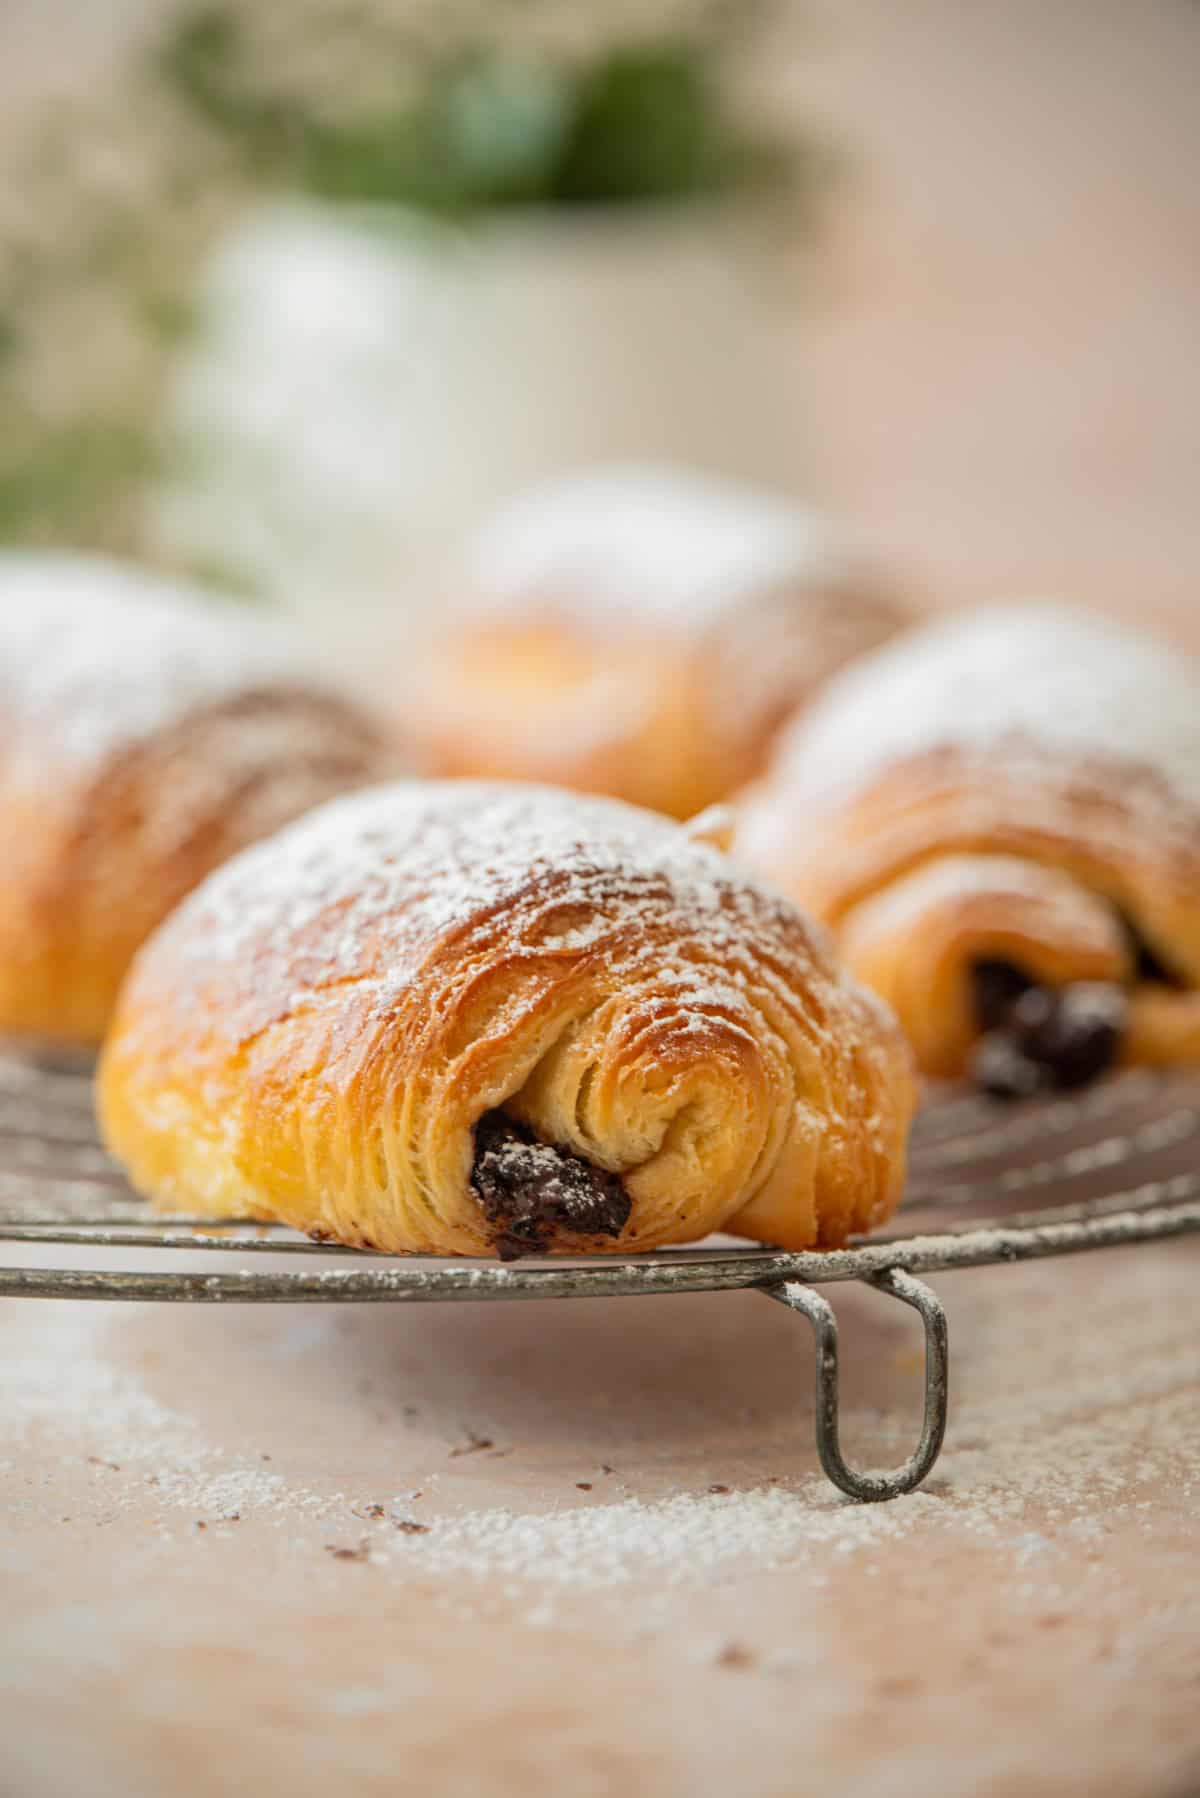
Pain au Chocolat, Gluten Free
Shatteringly flaky laminated dough wrapped around two batons of dark chocolate, with a honeycomb crumb that pulls apart in buttery sheets. It takes two days, but almost all of that is the fridge doing the work.
Ingredients
Makes 12 pastries
Dough
Butter Block
Filling
Egg Wash
Instructions
- 1
Mix the dough (Day 1)
Whisk the gluten-free blend, xanthan gum, sugar, yeast, and salt in the bowl of a stand mixer. Add the cold milk, water, egg, and softened butter, and mix on low until combined, then beat on medium-low for 3 minutes. This dough is softer and tackier than a wheat version and will look more like a thick batter-dough — that's correct. There's no gluten to develop, so stop once it's uniform.
- 2
Rest, then chill overnight
Let the dough sit at room temperature for 30 minutes so the starches and xanthan gum fully hydrate. It will firm up noticeably and stop feeling sticky. Then press it into a flat 7 by 8-inch rectangle, wrap tightly, and refrigerate 8 to 16 hours.
- 3
Build the butter block (Day 2)
Draw a 6-inch square on parchment and flip it over. Lay the cold butter inside the lines, fold the parchment into a packet, and pound and roll the butter into an even slab filling the square. Refrigerate 20 to 30 minutes until it bends like cold clay without cracking.
- 4
Lock in the butter
Roll the chilled dough between two sheets of lightly floured parchment into a 12 by 7-inch rectangle — rolling between parchment is essential here, since gluten-free dough tears instead of stretching. Peel off the top sheet, set the butter block in the center at a 45-degree angle, and fold the four corners of dough over it, pinching the seams shut. Patch any tears with a scrap of dough and press smooth.
- 5
First letter fold
With the packet still between parchment, roll it into a rectangle about 20 by 8 inches, working from the center outward in gentle, even passes rather than long hard strokes. Fold in thirds like a letter, wrap, and chill 45 minutes. Small cracks along the edges are normal — press them closed with your fingers before folding.
- 6
Second and third folds
Repeat the roll-and-letter-fold twice more, rotating 90 degrees each time with a 45-minute chill between. Stick to three folds and no more: without gluten, the layers are fragile, and extra turns will blend the butter into the dough instead of keeping it in sheets.
- 7
Roll out and cut
Roll the dough between parchment into a rectangle about 25 by 10 inches, a scant 1/4 inch thick. Trim the edges square with a pizza wheel, then cut into 12 rectangles roughly 4 by 4 3/4 inches. Chill the cut pieces for 10 minutes if the dough has gone soft — cold dough shapes far more cleanly.
- 8
Shape around the chocolate
Lay a chocolate baton across the short edge of a rectangle, roll one full turn, add a second baton, and finish rolling with the seam underneath. Roll snugly but without stretching the dough, since gluten-free dough splits rather than gives. Arrange seam-side down on parchment-lined sheet pans, six per pan.
- 9
Proof until puffy
Cover loosely and proof at 75 to 78°F for 1 1/2 to 2 1/2 hours — typically a bit faster than the wheat version. Look for pastries that have grown by about three-quarters and feel light and airy. Don't wait for a dramatic jiggle; gluten-free dough can't hold a full proof and will collapse in the oven if pushed too far.
- 10
Wash and bake
Heat the oven to 400°F. Brush the tops thinly with the egg beaten with milk, keeping the cut sides clear. Bake 10 minutes, lower to 375°F, and bake 12 to 15 minutes more. Go by color and sound: they should be deep golden brown and feel light and hollow when lifted. Gluten-free pastries need the extra few minutes to drive off moisture, or the centers stay gummy.
- 11
Cool before eating
Transfer to a rack and cool at least 30 minutes. The crumb is still setting and is noticeably delicate while hot, so moving them too soon can crush the layers you worked for.
You did it! Help us bring baking back home by selling your delicious baked goods on Homebaked!
Baker's Tips
- 1.
Plan it as a two-day bake: dough on day one, lamination and baking on day two. Rushing the chills is the single most common reason homemade lamination fails.
- 2.
A cool kitchen is your best tool. If your counter runs warm, chill the rolling pin and work in shorter bursts with extra fridge time.
- 3.
European-style butter with 82% or more fat stays pliable at cold temperatures and is far less likely to crack or shatter inside the dough.
- 4.
No chocolate batons? Cut a bar of 55 to 70% dark chocolate into sticks about 3 inches long and 1/3 inch thick. Chips are too small and sink into the layers.
- 5.
Shaped, unproofed pastries freeze beautifully for up to a month. Thaw and proof them on the counter for 3 to 4 hours, then bake as directed.
- 6.
A puddle of butter on the pan during baking means the lamination broke down or the proof was too warm — the pastries will still taste good, just with fewer layers.