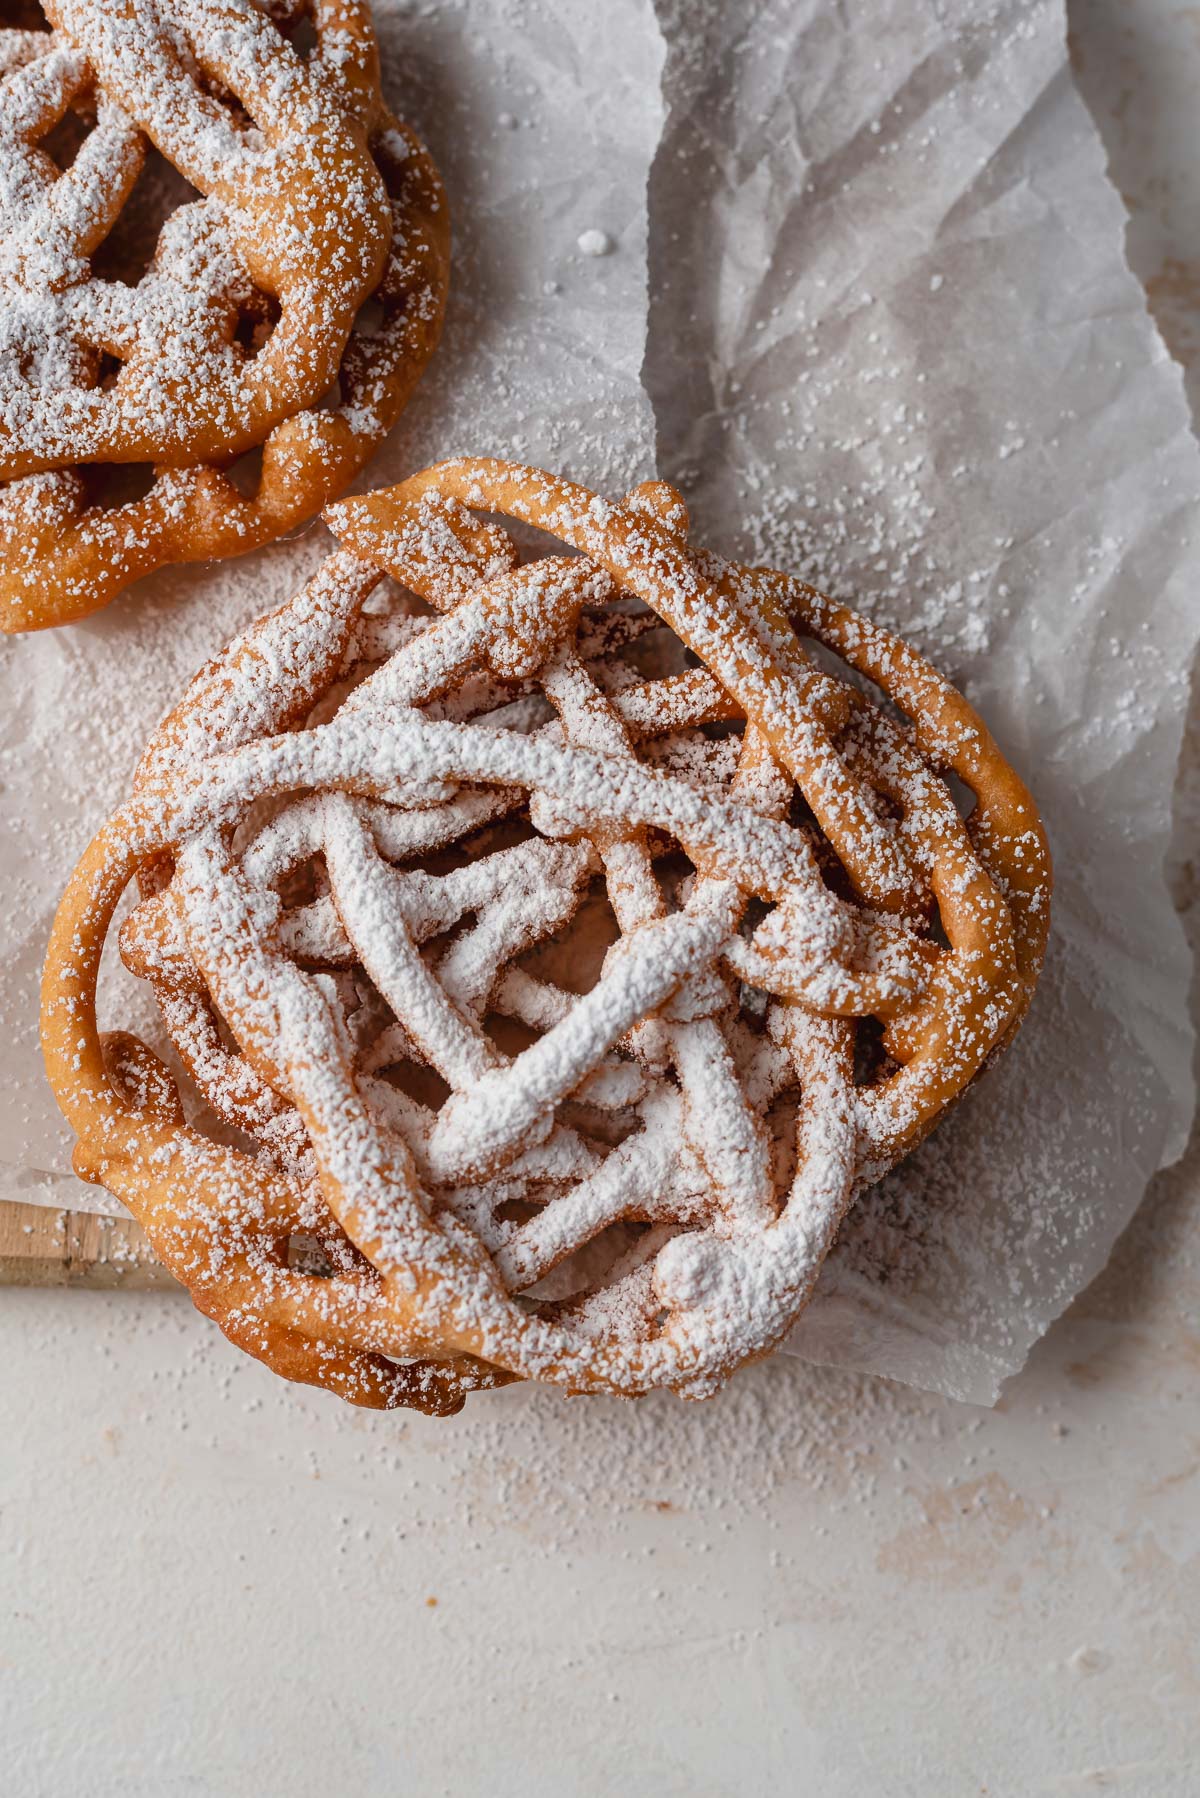
Funnel Cake, Gluten Free
Crisp, lacy rings of fried batter under a snowdrift of powdered sugar — the state fair classic, made in your own kitchen in under half an hour. The batter comes together in one bowl while the oil heats.
Ingredients
Makes 6 funnel cakes
Batter
For Frying and Serving
Instructions
- 1
Set up your landing zone first
Set a wire rack over a sheet pan next to the stove, and have a slotted spoon or spider skimmer and tongs within reach. Skip the paper towels — trapped steam softens the base, while a rack keeps air moving underneath. Hold off on heating the oil for now, since this batter needs a rest before frying.
- 2
Whisk the dry ingredients
In a large bowl, whisk the gluten-free flour blend, xanthan gum (only if your blend does not already list a binder), granulated sugar, baking powder, and salt. Whisk for a full thirty seconds — gluten-free blends are made of several different starches and flours that settle and separate in the bag, so thorough mixing matters more here than with wheat flour.
- 3
Add the wet ingredients
In a second bowl, whisk the milk, eggs, melted butter, and vanilla until uniform. Pour into the dry ingredients and whisk until completely smooth. Unlike wheat batter, there is no gluten to overdevelop, so whisk as much as you need to — a fully smooth batter is what you want.
- 4
Rest the batter 20 to 30 minutes
Cover the bowl and leave it on the counter for 20 to 30 minutes. This is the step that makes or breaks gluten-free funnel cakes. Rice flour and starches absorb liquid slowly, and a rested batter loses the faintly gritty texture that an unrested one keeps. It will also thicken noticeably as it sits, which is exactly what should happen. Start heating the oil about 10 minutes into the rest.
- 5
Heat the oil
Pour the oil into a Dutch oven or other heavy, deep pot until it sits about 2 inches deep, leaving at least 3 inches of clearance to the rim. Clip on a deep-fry thermometer and bring it to 375°F over medium heat.
- 6
Re-check the consistency after resting
Give the rested batter a good whisk and lift the whisk out. It should fall in a steady, unbroken ribbon. Gluten-free batter almost always needs loosening at this point — whisk in milk a tablespoon at a time until it flows freely again. Blends vary a lot in how much liquid they drink, so trust what you see rather than the measurement. Too thick and it will not stream from the funnel; too thin and the strands fall apart in the oil.
- 7
Fill your funnel
With the oil steady at 375°F, plug the spout of a funnel with your finger and ladle in about 1/2 cup of batter. A squeeze bottle, a spouted measuring cup, or a zip-top bag with a 1/2-inch corner cut off all work equally well.
- 8
Pour the cake
Hold the funnel 3 to 4 inches above the oil and release your finger. Spiral outward from the center to about 6 inches across, then criss-cross a few passes over the spiral so the strands fuse together. Overlap the strands a little more generously than you would with wheat batter — gluten-free cakes have less structure holding them in one piece, and those extra connection points keep the cake intact when you flip it.
- 9
Fry until deep golden
Fry about 2 minutes per side. Gluten-free batter browns a shade faster, so watch for a deep golden color rather than going strictly by the clock, and pull it when the edges look dry and set. Flip gently with two forks or tongs, supporting the cake from underneath. Drain on the wire rack.
- 10
Let the oil recover, then repeat
Wait for the oil to climb back to 375°F between cakes and fry one at a time. Stir the batter before each pour, since gluten-free batters settle and thicken as they sit — add another splash of milk partway through the batch if the flow has slowed.
- 11
Dust and serve immediately
Sift powdered sugar over each cake while it is hot. Gluten-free funnel cakes soften faster than wheat ones as they cool, so serve them within a few minutes of frying for the best crisp-edged texture.
You did it! Help us bring baking back home by selling your delicious baked goods on Homebaked!
Baker's Tips
- 1.
A thermometer is non-negotiable here. Below 350°F the batter drinks oil and turns heavy and greasy; above 390°F the outside browns before the inside cooks through.
- 2.
Pour from higher above the oil than feels natural. A 3- to 4-inch drop stretches the batter into thin strands; pouring close to the surface gives you thick, doughy ropes.
- 3.
Chill the batter for 15 minutes if it feels loose. A slightly cold, slightly thickened batter holds its shape better as it hits the oil.
- 4.
Dust with powdered sugar only right before eating. Sugar applied to a cake that has sat for 10 minutes dissolves into damp patches.
- 5.
Beyond powdered sugar, try a drizzle of warm chocolate or caramel sauce, crushed strawberries with whipped cream, or a shake of cinnamon sugar while the cake is still hot and tacky.
- 6.
Strain the cooled frying oil through a coffee filter or fine-mesh sieve into a jar and keep it in a cool, dark cupboard. It is good for two or three more frying sessions.
- 7.
Making a batch for a crowd? Hold finished cakes on the rack in a 200°F oven for up to 20 minutes. They will not be quite as crisp as fresh, but they stay far better than they would on the counter.