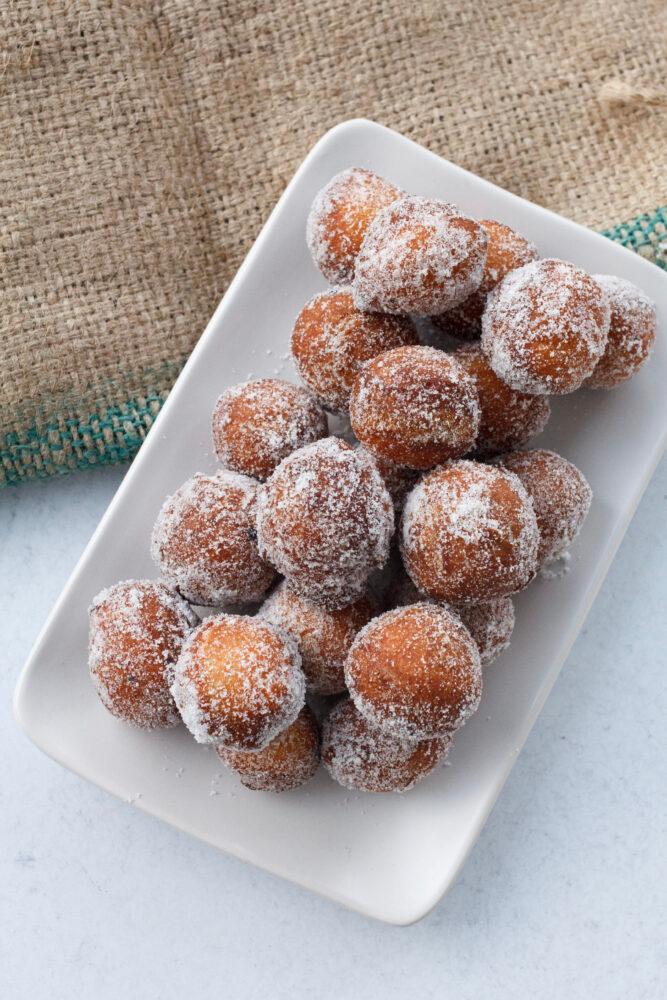
Buttermilk Cake Donut Holes, Gluten Free
Scoopable buttermilk batter fried into crisp-edged, tender little spheres and tumbled in cinnamon sugar while still hot. No yeast, no rolling, no cutting — about forty minutes from bowl to breakfast.
Ingredients
Makes 30 donut holes
Donut holes
For frying
Cinnamon sugar coating
Instructions
- 1
Set up your landing zone
Before you touch the batter, get everything ready for hot donuts. Stir the 3/4 cup sugar and the cinnamon together in a wide shallow bowl. Set a wire rack over a rimmed baking sheet next to the stove. Frying moves fast, and you don't want to be hunting for a slotted spoon with oil at temperature.
- 2
Whisk the dry ingredients
In a large bowl, whisk the gluten-free flour blend, xanthan gum (skip it if your blend already lists it), 1/3 cup sugar, baking powder, baking soda, salt, and nutmeg until completely uniform. Gluten-free blends and xanthan gum both clump, so whisk for a full 30 seconds — longer than you would with wheat flour.
- 3
Combine the wet ingredients
In a medium bowl, whisk the egg and vanilla together, then whisk in the buttermilk. Drizzle in the melted butter while whisking. Room-temperature buttermilk keeps the butter from seizing into flecks.
- 4
Mix thoroughly, then rest
Pour the wet into the dry and stir until smooth — there's no gluten to overdevelop here, so mix properly rather than minimally. Now cover the bowl and let it sit for 25 minutes. This rest lets the rice flour and starches absorb the liquid; skip it and you'll get a gritty, sandy texture. The batter will thicken noticeably as it sits, which is exactly what you want.
- 5
Heat the oil to 350°F
While the batter rests, pour the oil into a heavy Dutch oven or deep pot; it should come up about 2 inches and sit at least 3 inches below the rim. Heat over medium until a clip-on thermometer reads 350°F (175°C). Below 340°F the donut holes absorb oil and turn greasy; above 365°F the outsides brown before the centers set.
- 6
Scoop and fry in batches
Using a 1-tablespoon cookie scoop, drop rounded portions of the rested batter into the oil, lowering them in close to the surface. Fry 6 to 8 at a time so the oil temperature holds. Nudge them with a slotted spoon or spider so they brown evenly. Fry 3 to 4 minutes total — slightly longer than the wheat version, since the starchier batter needs the extra time to set in the middle.
- 7
Check the first one
Pull one donut hole from the first batch, cool it a minute, and tear it open. Gluten-free donut holes color up faster than they cook through, so judge doneness by the interior, not the shell: it should be moist and cakey, never gummy or sticky. If the center is underdone, lower the heat slightly and give the next batch another 30 seconds.
- 8
Drain and coat while hot
Lift the donut holes onto the wire rack, let them drip for about 30 seconds, then roll them through the cinnamon sugar while hot so it sticks. Let the oil return to 350°F between batches and stir the batter gently each time — gluten-free batter settles and thickens as it sits, and a quick stir keeps the scoops consistent.
You did it! Help us bring baking back home by selling your delicious baked goods on Homebaked!
Baker's Tips
- 1.
No buttermilk? Stir 2 teaspoons of lemon juice or white vinegar into 3/4 cup of whole milk and let it sit for 10 minutes. It won't thicken much, but the acid is what you're after for the baking soda to react with.
- 2.
Keep the scoops small and even. A 1-tablespoon portion fries through in about 3 minutes; anything bigger than 1 1/2 tablespoons will brown outside before the middle sets.
- 3.
Fry a single test donut hole before the first real batch to calibrate your oil. It's the fastest way to find out if your thermometer and your stove agree.
- 4.
For a glaze instead of cinnamon sugar, whisk 1 cup powdered sugar (120g) with 2 tablespoons milk (30g) and 1/2 teaspoon vanilla, then dip the donut holes once they've cooled for about 5 minutes so the glaze sets instead of sliding off.
- 5.
Strain the cooled frying oil through a coffee filter and refrigerate it in a sealed jar — it's good for two or three more frying sessions.
- 6.
These are genuinely best within two hours of frying. If you want them for a morning, mix the dry ingredients the night before and whisk the wet together just before you heat the oil.