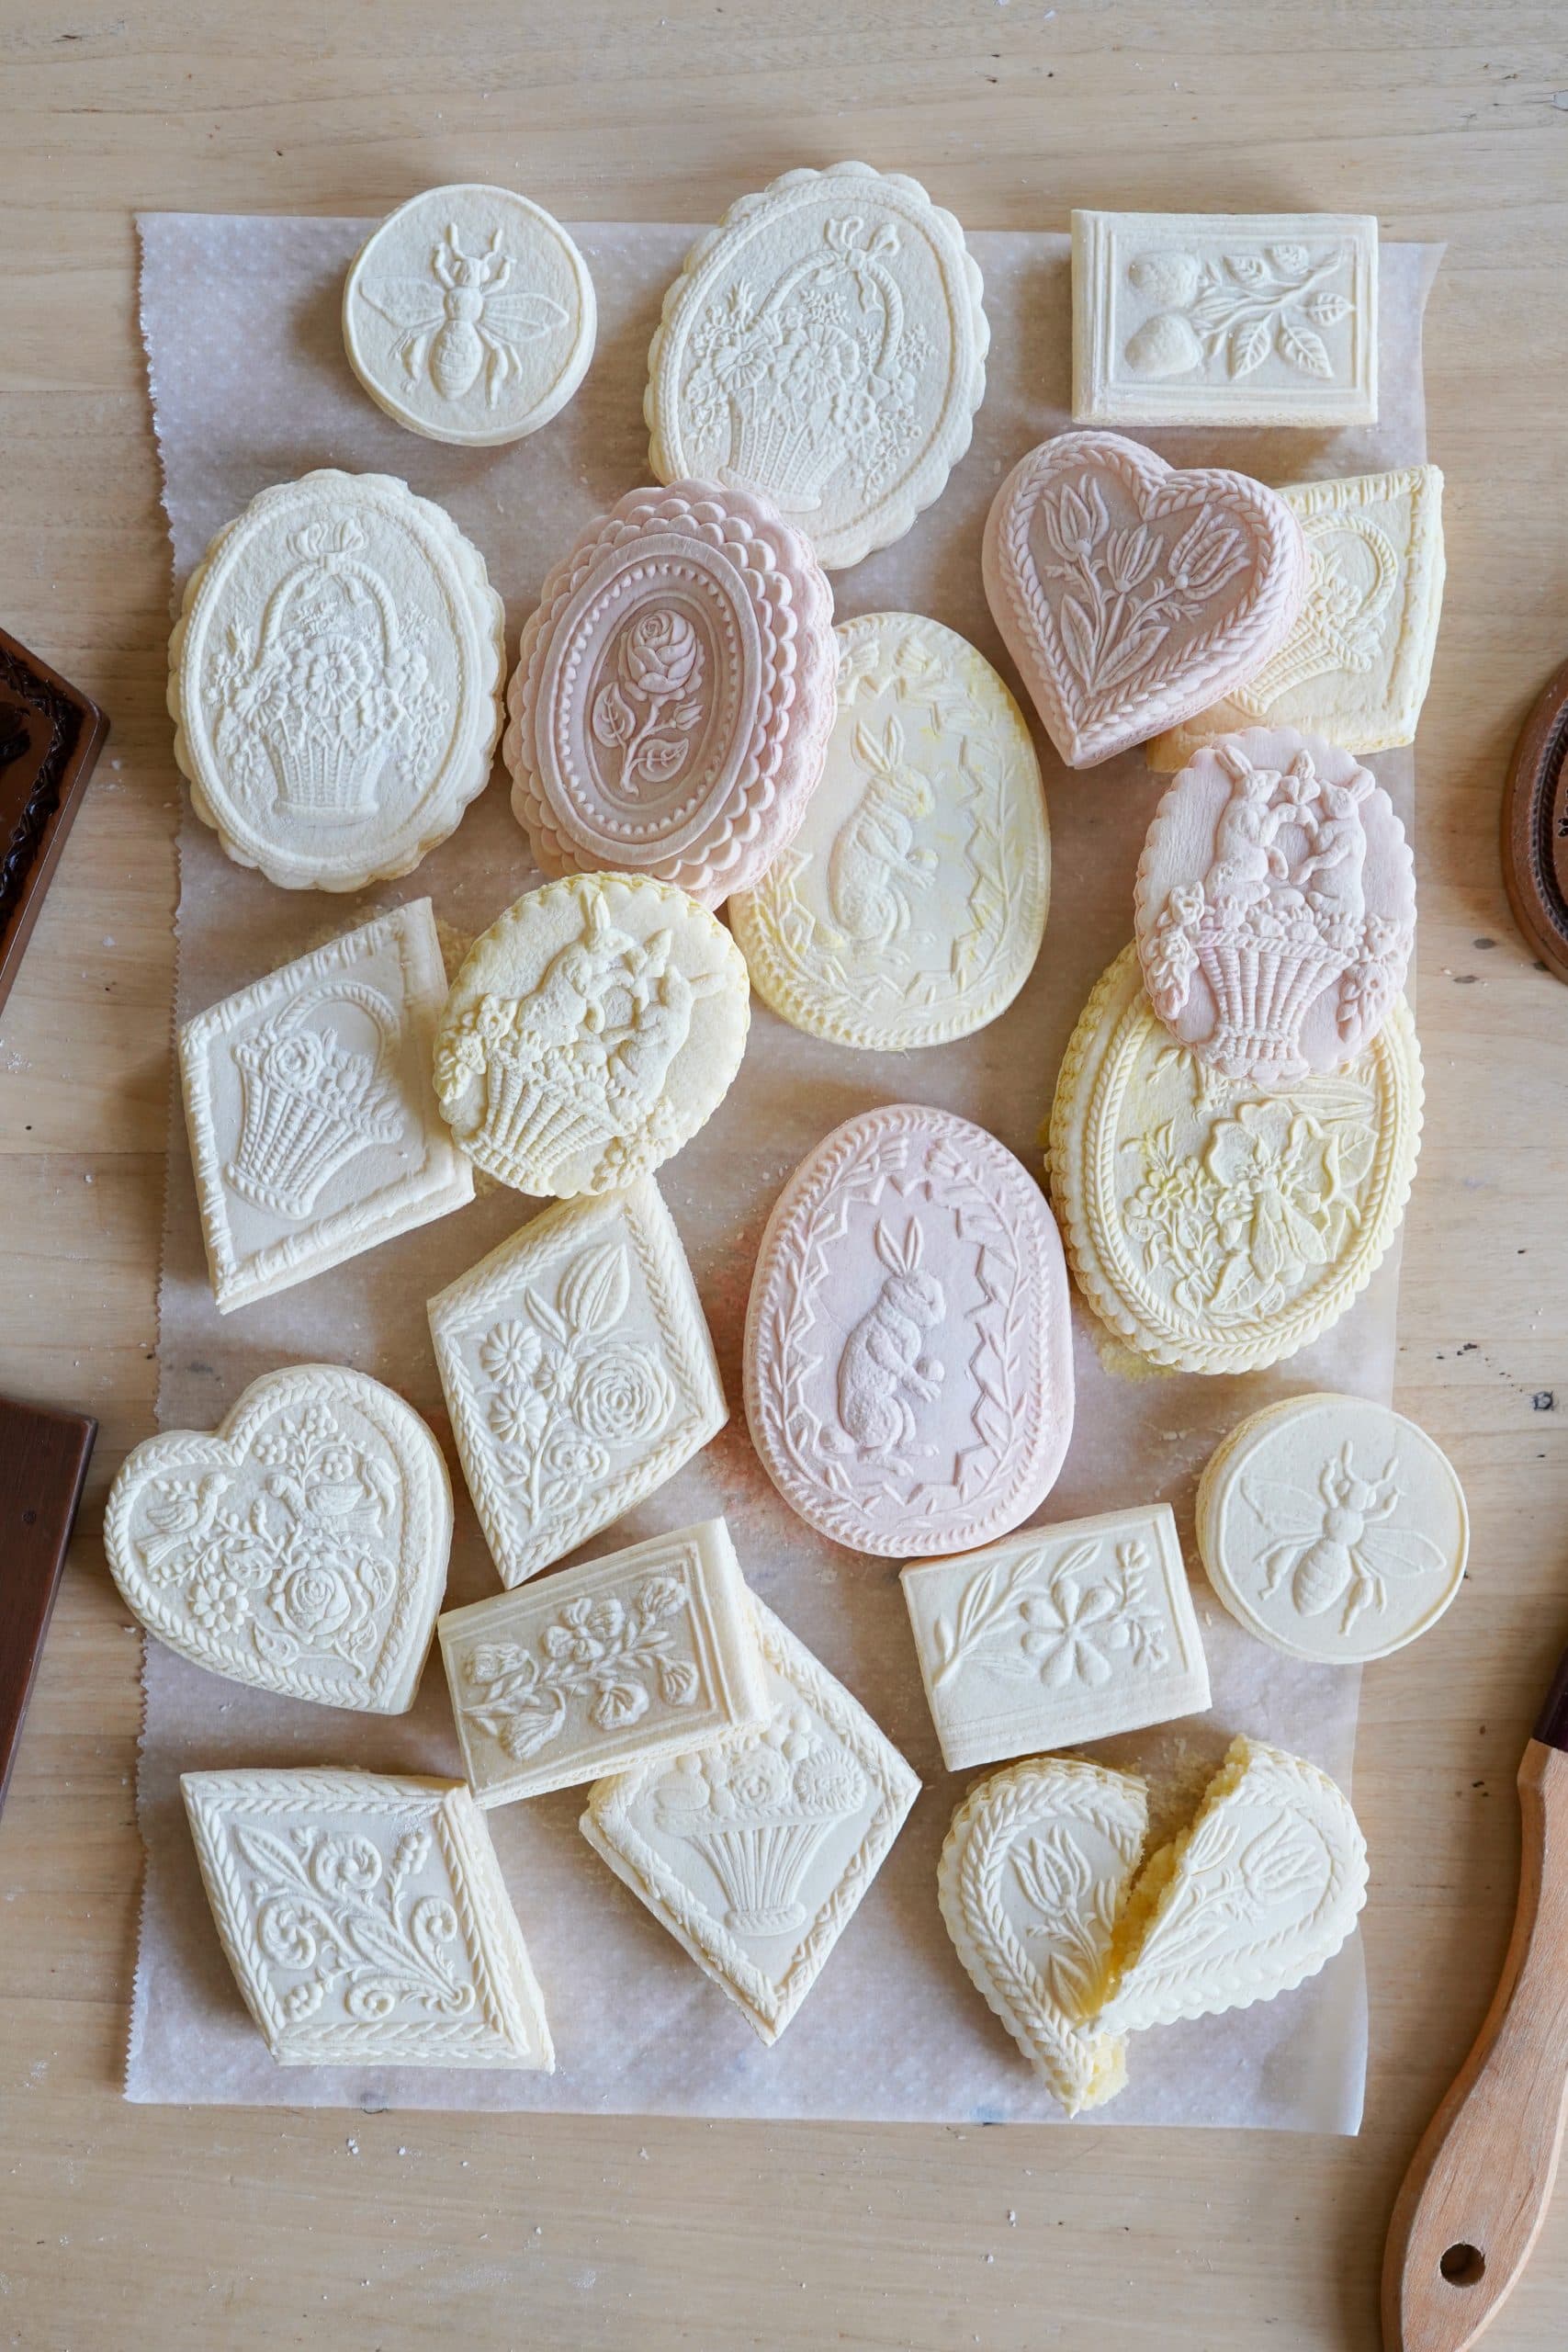
Springerle (German Anise Stamped Cookies), Gluten Free
Pale, chalk-white German cookies pressed with a carved mold, dried overnight so the picture stays razor-sharp, then baked low and slow until they grow their signature puffy feet. They taste faintly of anise and lemon and only get better after a week in the tin.
Ingredients
Makes about 36 cookies (2-inch)
Dough
For Shaping & Baking
Instructions
- 1
Dissolve the hartshorn
Stir the baker's ammonia into the milk in a small cup and let it sit for about 10 minutes to dissolve. Don't lean in for a sniff — the ammonia smell is harsh in the cup and vanishes entirely in the oven. Baking powder can stand in at the same measure, with a slightly denser result.
- 2
Beat the eggs until they ribbon
In a stand mixer fitted with the whisk, beat the eggs on high for 10 to 15 minutes until tripled, very pale, and thick enough to fall from the whisk in a ribbon that sits on the surface for a few seconds. With no gluten to build structure, this aeration is doing even more of the work than usual, so run the full time.
- 3
Add the sugar and butter
On medium speed, add the powdered sugar a few spoonfuls at a time until the mixture is thick and glossy. Add the softened butter in small pieces and beat just until smooth.
- 4
Flavor the base
Mix in the hartshorn milk, salt, anise oil, and lemon zest on low speed. If you're using anise extract instead of oil, increase it to 1 1/2 teaspoons.
- 5
Work in the flour
Switch to the paddle and add the gluten-free blend in three additions on low speed, mixing only until combined. The dough will look softer and slightly stickier than a wheat dough at this stage — resist adding more flour yet.
- 6
Rest, then chill
Cover the bowl and let the dough sit at room temperature for 30 minutes so the rice flour and starches fully hydrate; it will visibly firm up and stop feeling gritty. Then knead it briefly on a surface dusted with the blend, adding flour a tablespoon at a time until it's stiff and only barely tacky, wrap tightly, and refrigerate at least 1 hour or up to 3 days.
- 7
Roll and stamp
Working with a quarter of the chilled dough at a time, roll it a generous 3/8 inch thick on a surface dusted with the gluten-free blend. Dust the mold, tap out the excess, and press straight down with firm, even pressure before lifting cleanly away. Gluten-free dough tears more readily at the edges, so cut around each print with a well-floured wheel or knife and patch any ragged corners with a fingertip. Brush off loose flour with a dry pastry brush.
- 8
Dry them overnight
Scatter the anise seeds over parchment-lined pans and arrange the cookies an inch apart. Dry uncovered at cool room temperature for a full 24 hours, until the tops are matte and dry to a light touch. Gluten-free dough holds more surface moisture, so if the tops still feel at all cool or tacky, give them another 6 to 12 hours before baking.
- 9
Bake low and test one first
Heat the oven to 300°F (150°C) with a rack in the lower third. Bake one test cookie, checking at 12 minutes — gluten-free blends color faster, so watch for the first hint of gold on the bottom while the top stays white. Break it open: the crumb should be dry and cakey all the way through with no gummy center, which can take a minute or two longer than wheat dough. Adjust the oven to 275°F if the tops are taking on any color.
- 10
Cool and age
Cool completely on a rack before moving them, as these are more fragile warm. Seal in a tin for at least a week; the crumb softens and the anise comes forward, and gluten-free springerle in particular taste much better after a few days than they do fresh.
You did it! Help us bring baking back home by selling your delicious baked goods on Homebaked!
Baker's Tips
- 1.
A kitchen scale matters more here than in most cookies. The dough needs to be stiff enough to hold a print, and a few heaping cups of flour can push it from firm to crumbly.
- 2.
If your print comes out fuzzy, the dough was too soft or too thin. Knead in a little more flour and roll the next batch slightly thicker.
- 3.
Dust the mold, not the dough, and knock the excess out before each press. Caked flour in the carving is what fills in fine details.
- 4.
Humid weather slows the drying step. In a damp kitchen, give the cookies 36 hours and run a fan on low across the counter.
- 5.
Anise oil is the traditional flavor, but lemon, orange, or almond oil all work. Citrus and almond versions taste best within a week, while anise improves with a month of aging.
- 6.
Press hard enough to feel the dough spread slightly under the mold, then lift without twisting. Any sideways drag smears the image.
- 7.
If you want to hang them on the tree, poke a hole near the top with a skewer right after stamping and widen it again before baking.