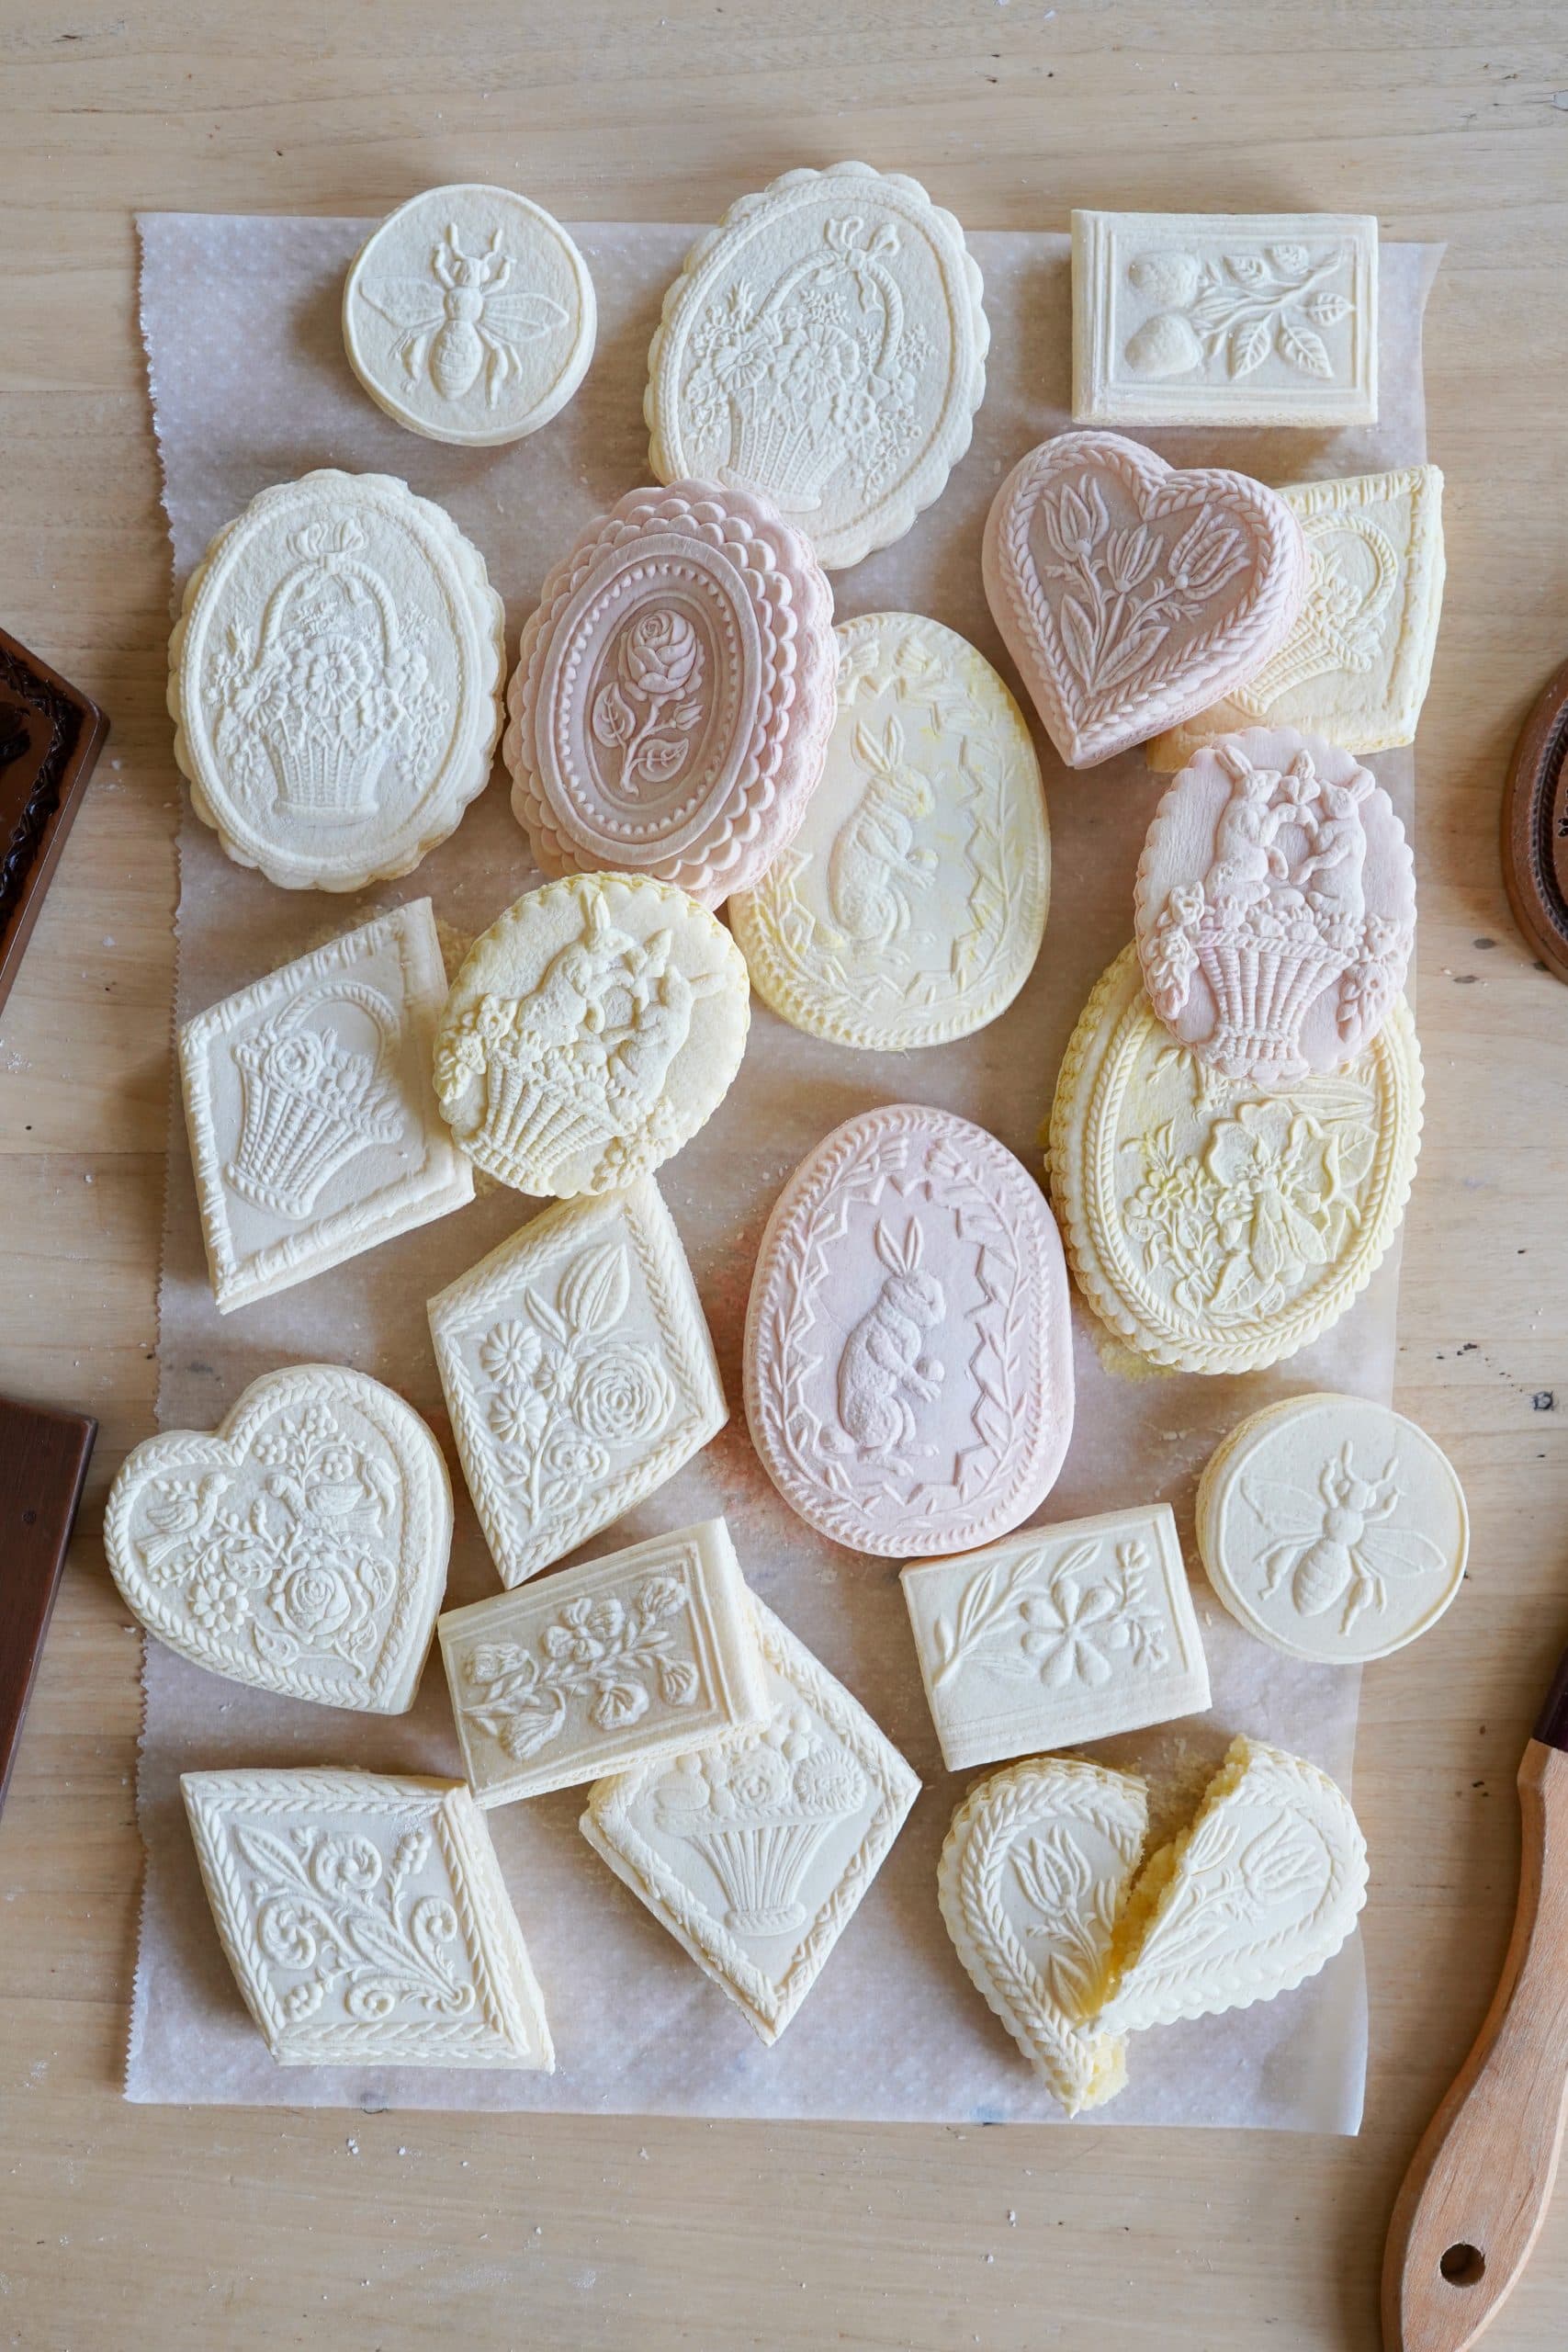
Springerle (German Anise Stamped Cookies)
Pale, chalk-white German cookies pressed with a carved mold, dried overnight so the picture stays razor-sharp, then baked low and slow until they grow their signature puffy feet. They taste faintly of anise and lemon and only get better after a week in the tin.
Ingredients
Makes about 36 cookies (2-inch)
Dough
For Shaping & Baking
Instructions
- 1
Dissolve the hartshorn
Stir the baker's ammonia into the milk in a small cup and set it aside for about 10 minutes to dissolve. Keep your nose well away from it — the smell is sharp and unpleasant, and it bakes off completely in the oven. If you can't find hartshorn, an equal amount of baking powder works, though the cookies will be a little denser and less crisp.
- 2
Beat the eggs until they ribbon
In a stand mixer fitted with the whisk, beat the eggs on high for 10 to 15 minutes. This is not a step to shorten. You want them tripled in volume, very pale, and thick enough that a lifted whisk draws a ribbon across the surface that holds for a few seconds. This air is the only real lift the dough gets, and it's what gives springerle their fine, cakey crumb.
- 3
Add the sugar and butter
With the mixer on medium, add the powdered sugar a few spoonfuls at a time, letting each addition disappear before the next. The mixture will go glossy and thick, like soft marshmallow. Drop in the softened butter in small pieces and beat just until smooth.
- 4
Flavor the base
Beat in the hartshorn milk, salt, anise oil, and lemon zest on low speed until evenly combined. Anise oil is far stronger than extract — if you only have extract, use 1 1/2 teaspoons instead.
- 5
Work in the flour
Switch to the paddle and add the flour in three additions on low speed, mixing only until the last streaks disappear. Turn the dough onto a lightly floured counter and knead it gently for a minute, adding flour a tablespoon at a time, until it's stiff, smooth, and barely tacky. It should feel firm like play dough; a soft dough will blur the printed design.
- 6
Rest the dough
Wrap the dough tightly and refrigerate it for at least 1 hour, or up to 3 days. The flour keeps absorbing moisture as it sits, so chilled dough prints much more cleanly than freshly mixed dough.
- 7
Roll and stamp
Work with a quarter of the dough at a time, keeping the rest wrapped. Roll it on a lightly floured surface to a generous 3/8 inch — thinner than that and the design will bake out. Dust your mold or carved pin with flour, tap out the excess, and press straight down with firm, even pressure, then lift cleanly away. Cut around each print with a fluted wheel or knife and brush off any loose flour with a dry pastry brush.
- 8
Dry them overnight
Scatter the anise seeds over parchment-lined sheet pans and set the cookies on top, about an inch apart. Leave them uncovered at cool room temperature for 24 hours. The tops should dry to a matte, papery skin that feels dry to a light touch. This is the step that keeps the picture sharp in the oven, and skipping it is the single most common way springerle go wrong.
- 9
Bake low and test one first
Heat the oven to 300°F (150°C) with a rack in the lower third. Bake a single test cookie for 12 to 14 minutes: the top should stay white and the bottom should rise into a pale puffed foot with just a hint of gold. If it browns or puffs unevenly, drop the oven to 275°F for the rest. Break the test cookie open to be sure the center is cooked through and no raw doughiness remains — important for baking off the hartshorn completely.
- 10
Cool and age
Slide the cookies onto a rack and cool completely. They'll be quite firm at first. Seal them in a tin and give them at least a week before serving — the anise mellows, the crumb softens slightly, and they taste noticeably better than they do on day one.
You did it! Help us bring baking back home by selling your delicious baked goods on Homebaked!
Baker's Tips
- 1.
A kitchen scale matters more here than in most cookies. The dough needs to be stiff enough to hold a print, and a few heaping cups of flour can push it from firm to crumbly.
- 2.
If your print comes out fuzzy, the dough was too soft or too thin. Knead in a little more flour and roll the next batch slightly thicker.
- 3.
Dust the mold, not the dough, and knock the excess out before each press. Caked flour in the carving is what fills in fine details.
- 4.
Humid weather slows the drying step. In a damp kitchen, give the cookies 36 hours and run a fan on low across the counter.
- 5.
Anise oil is the traditional flavor, but lemon, orange, or almond oil all work. Citrus and almond versions taste best within a week, while anise improves with a month of aging.
- 6.
Press hard enough to feel the dough spread slightly under the mold, then lift without twisting. Any sideways drag smears the image.
- 7.
If you want to hang them on the tree, poke a hole near the top with a skewer right after stamping and widen it again before baking.
Equipment
- Stand mixer with whisk and paddle attachments
- Springerle mold, press, or carved rolling pin
- Standard rolling pin
- Kitchen scale
- Fluted pastry wheel or sharp knife
- Dry pastry brush
- Two rimmed sheet pans
- Parchment paper
- Cooling rack
- Airtight tin
Storage
Store cooled springerle in an airtight tin at cool room temperature for up to 2 months; anise-flavored ones genuinely improve after a week or two. Tins work better than plastic containers because they seal while still allowing a trace of air movement. If the cookies get too hard for your liking, tuck a slice of apple into the tin overnight and remove it the next day. They also freeze well in zip-top bags for up to 6 months — thaw sealed, at room temperature.