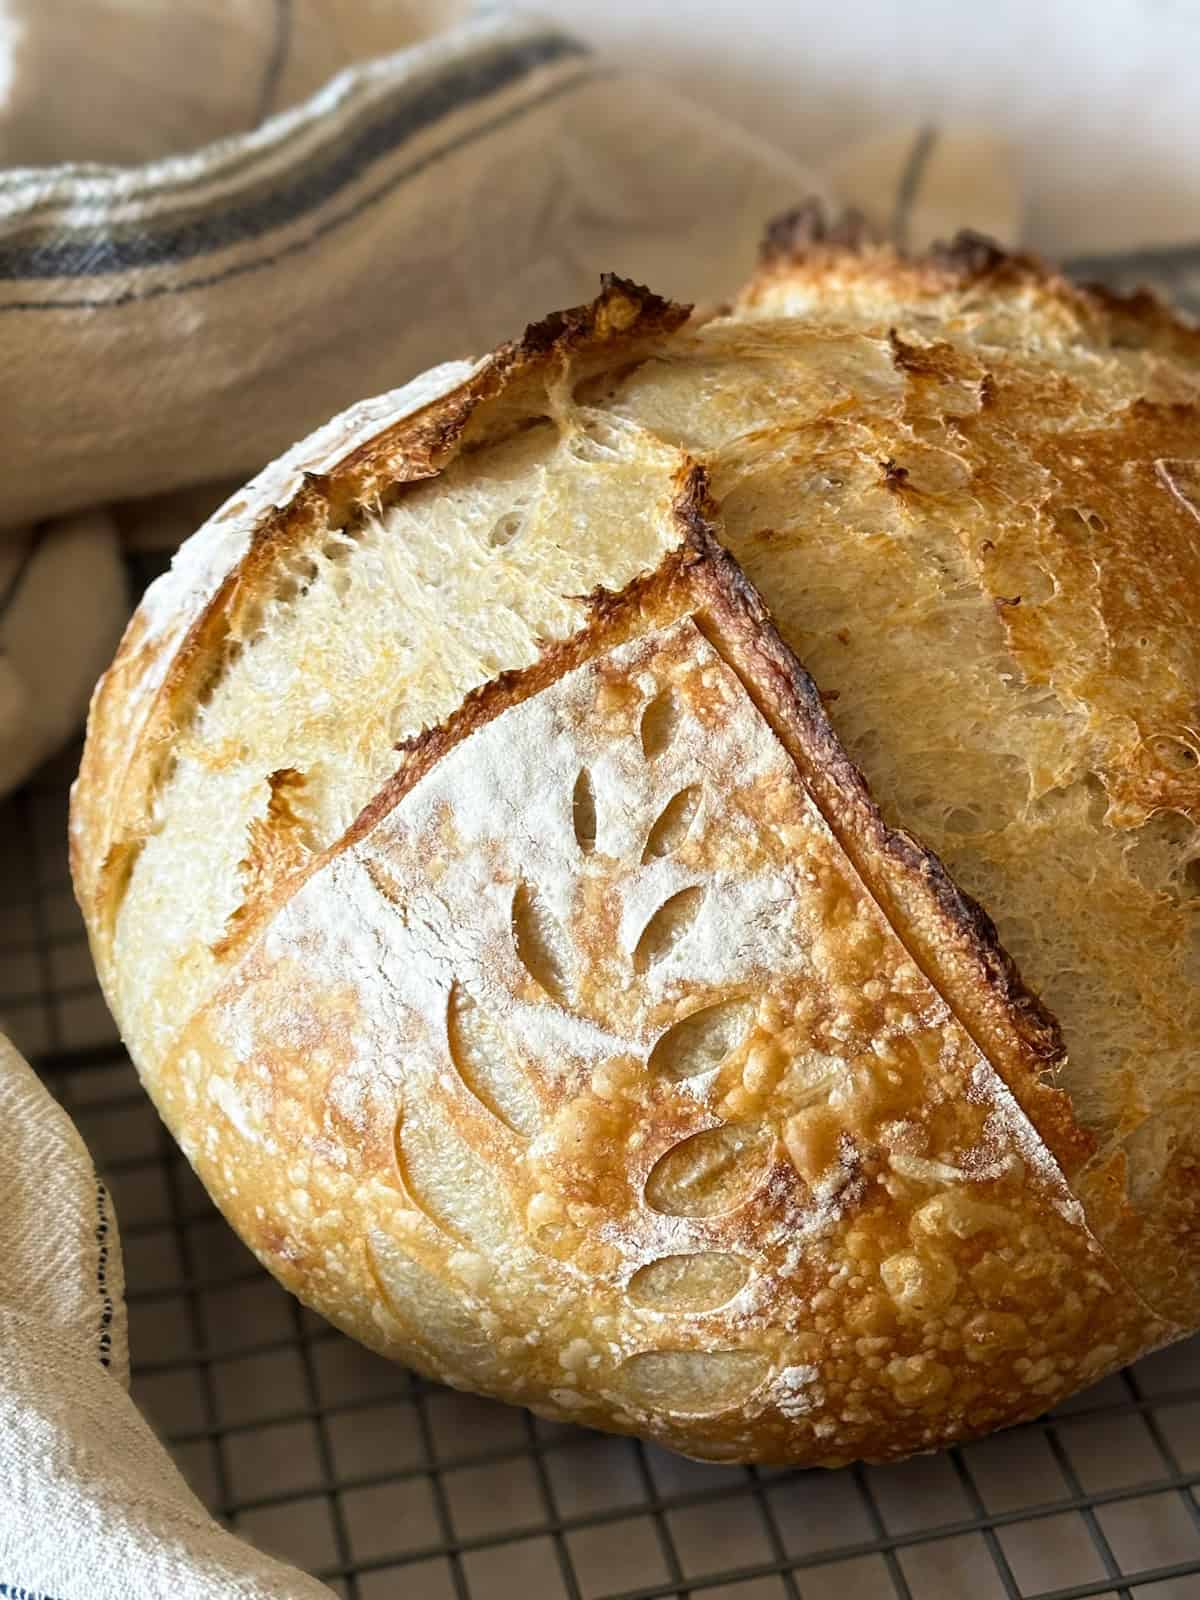
Classic Sourdough Boule, Gluten Free
A tall, crackly-crusted round loaf with an open, chewy crumb and real tang, leavened entirely with a ripe starter. Most of the work is waiting, and the overnight cold proof does the heavy lifting on flavor.
Ingredients
Makes 1 loaf (about 2 lb)
Psyllium Gel
Dough
Shaping and Baking
Instructions
- 1
Make sure your starter is ready
Feed your gluten-free starter 4 to 6 hours ahead and use it at its peak — domed, visibly bubbly throughout, and just beginning to look like it might recede. Gluten-free starters built on rice or sorghum flour tend to peak faster than wheat ones, so check at 4 hours rather than assuming you have all day.
- 2
Build the psyllium gel
Whisk the lukewarm water, honey, and olive oil together in a medium bowl, then whisk in the psyllium husk immediately and keep whisking for 15 seconds so it doesn't clump. Let it stand 5 to 10 minutes until it thickens into a loose, spreadable gel. This gel is doing the structural job gluten would do, so don't rush it or cut the amount.
- 3
Combine the dry ingredients
In a large bowl, whisk the gluten-free flour blend, xanthan gum, salt, and baking powder together thoroughly. Check your blend's label first — most 1:1 cup-for-cup blends already contain xanthan gum, and adding more will make the loaf slick and heavy, so leave it out in that case.
- 4
Mix the dough
Add the starter and the psyllium gel to the dry ingredients. Mix with a sturdy spatula or a stand mixer with the paddle for 3 to 4 minutes, scraping the bowl once, until completely uniform. The dough will be thick, sticky, and more like a stiff batter than a wheat dough — there is no windowpane to chase here, so mix for evenness, not strength.
- 5
Rest to hydrate
Cover and let the dough sit for 25 minutes. The starches and psyllium need this time to fully absorb water, and the dough will firm up noticeably and stop sticking to your spatula. Skipping this rest is what produces a wet, dense loaf.
- 6
Bulk ferment
Cover and leave at around 76°F for 4 to 6 hours, until the dough has risen by about 50 percent and the surface is dotted with bubbles. There are no stretch and folds in this version — there's no gluten network to build, and handling the dough now only deflates it. Judge by rise and bubbles rather than time.
- 7
Shape with wet hands
Dust a banneton or towel-lined bowl heavily with rice flour. Wet your hands, scrape the dough out onto a wet counter, and gently gather it into a round by tucking the edges underneath, turning as you go. Work quickly and lightly. Place it seam side up in the banneton and smooth the surface with a wet hand.
- 8
Cold proof
Cover and refrigerate for 8 to 12 hours. Don't go past 12 — gluten-free dough has no elastic network to hold it together and a long retard breaks down the structure you've built. Chilling firms the dough enough to score cleanly.
- 9
Preheat hard
At least 45 minutes before baking, heat a 5- to 6-quart Dutch oven with its lid in the oven at 500°F, and let it hold at temperature for 20 minutes after it beeps.
- 10
Score and bake covered
Turn the chilled dough onto parchment, brush off loose rice flour, and score about 1/2 inch deep in one smooth stroke. Lower it into the hot pot, cover, reduce the oven to 475°F, and bake 50 minutes. Gluten-free loaves need a much longer covered bake than wheat ones to steam the dense interior through.
- 11
Finish uncovered
Remove the lid and bake another 12 to 15 minutes until the crust is deep brown and firm. Target an internal temperature of 208 to 210°F — a few degrees higher than a wheat loaf, since any less leaves the center sticky.
- 12
Cool fully — this one is non-negotiable
Cool on a wire rack for at least 4 hours, and overnight is better. Gluten-free crumb sets as it cools far more than wheat crumb does, and slicing a warm loaf will give you a gummy, collapsed interior even when the bake was perfect.
You did it! Help us bring baking back home by selling your delicious baked goods on Homebaked!
Baker's Tips
- 1.
Dough temperature matters more than elapsed time. At 70°F bulk fermentation can take twice as long as at 80°F, so find the warmest spot in your kitchen in winter and shorten your timeline in summer.
- 2.
If your loaf spreads flat instead of rising tall, it almost always went too long in bulk. Pull the dough at a 50 percent rise next time, not a doubling.
- 3.
A dense, tight crumb with a gummy center means the opposite problem — underfermented dough. Give the starter a longer, warmer bulk.
- 4.
Rice flour in the banneton is worth buying a small bag for. Wheat flour absorbs moisture overnight and glues the dough to the basket.
- 5.
No Dutch oven? Bake on a preheated stone or steel with a metal roasting pan inverted over the loaf for the first 20 minutes to trap steam.
- 6.
Score with real commitment. A tentative, shallow slash seals shut in the oven and the loaf bursts open at a random weak point instead.