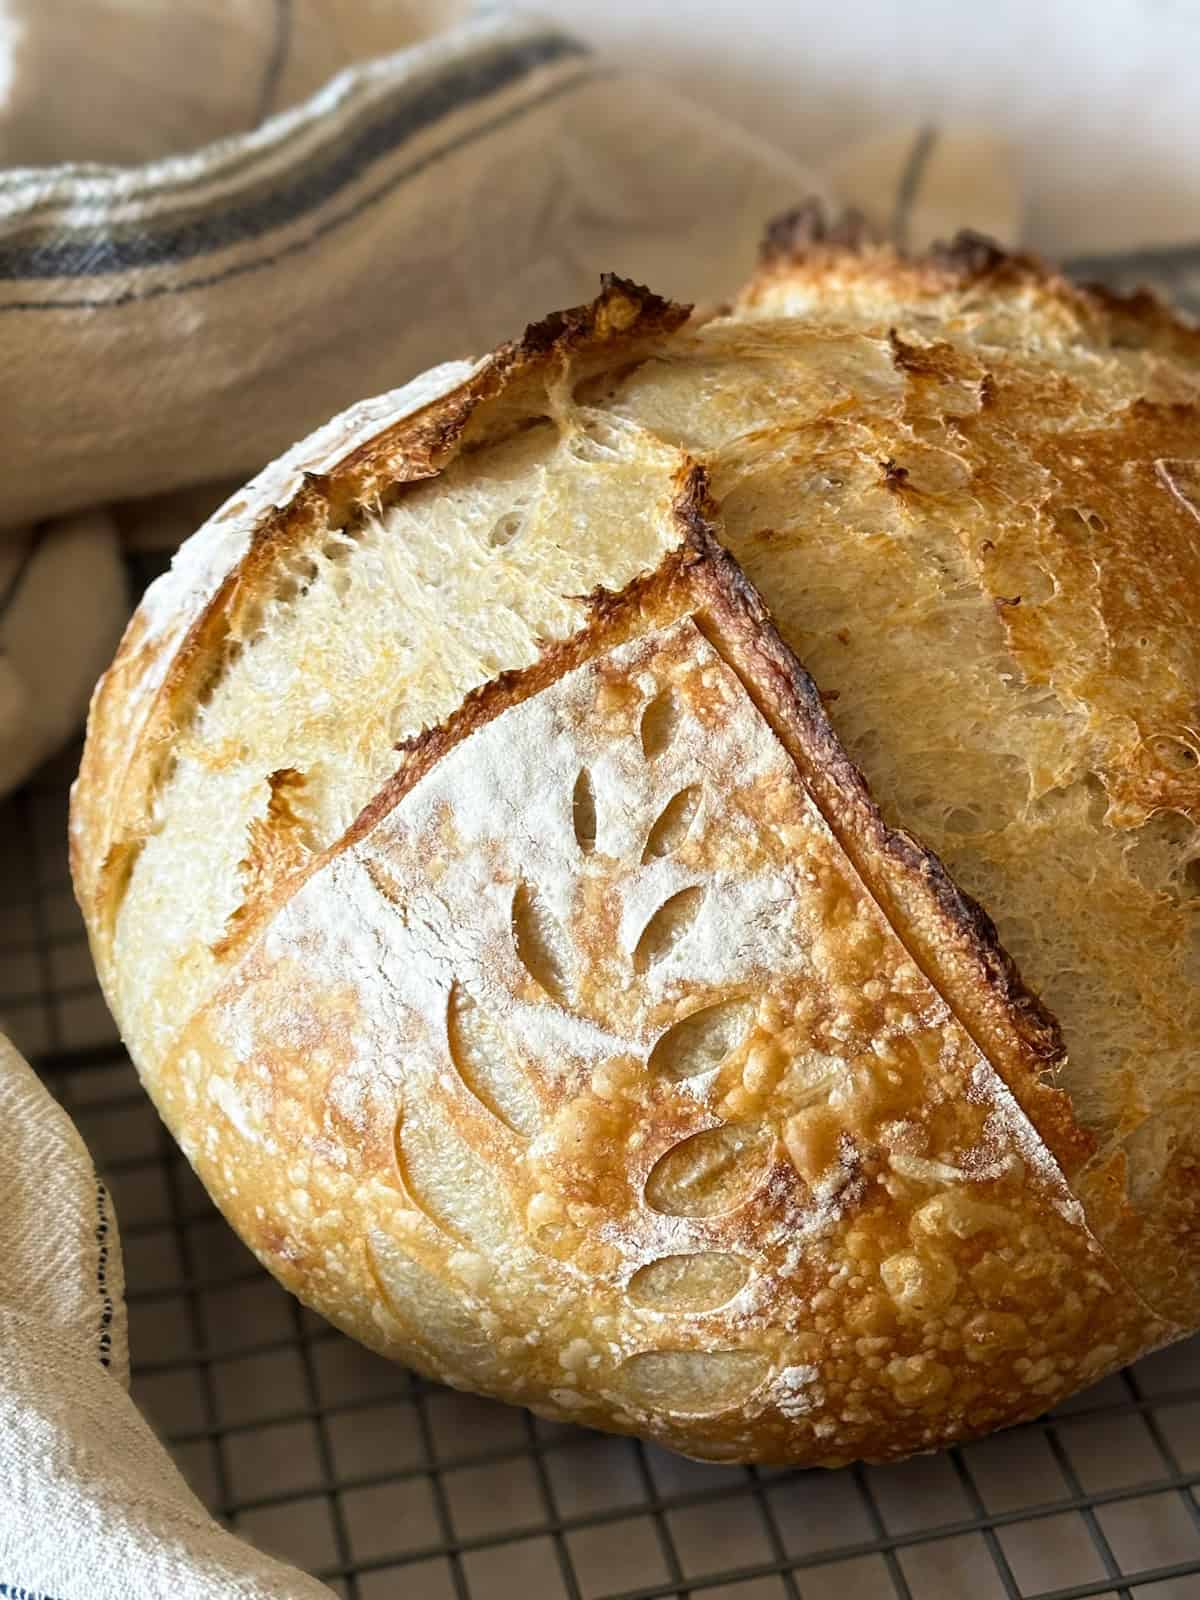
Classic Sourdough Boule
A tall, crackly-crusted round loaf with an open, chewy crumb and real tang, leavened entirely with a ripe starter. Most of the work is waiting, and the overnight cold proof does the heavy lifting on flavor.
Ingredients
Makes 1 loaf (about 2 lb)
Dough
Shaping and Baking
Instructions
- 1
Make sure your starter is ready
Feed your starter 4 to 8 hours before you plan to mix, and wait until it has at least doubled, domed on top, and smells sweetly sour rather than sharp or acetone-like. A spoonful dropped into room-temperature water should float. If it sinks, feed it again and wait — a sluggish starter is the single most common reason a loaf comes out dense, and no amount of extra proofing later will rescue it.
- 2
Mix the flours and water
Whisk the bread flour and whole wheat flour together in a large bowl. Pour in the lukewarm water and squeeze everything together with your hand until no dry pockets remain. It will look shaggy and rough, and that's exactly right. Cover and let it sit for 45 minutes to an hour. During this rest the flour drinks up the water and gluten starts forming on its own, which means less work for you later.
- 3
Work in the starter
Add the ripe starter to the bowl and pinch it through the dough with your fingers, then fold the dough over itself repeatedly for a minute or two until the starter disappears completely. Cover and rest 20 minutes.
- 4
Add the salt
Sprinkle the salt over the dough, wet one hand, and pinch and fold it in until you can't feel any grit. The dough will loosen and feel slacker for a moment, then tighten back up as you work it. Transfer to a clear straight-sided container if you have one, and mark the level — you want to be able to see how much it has risen.
- 5
Bulk ferment with stretch and folds
Over the next 4 to 6 hours at around 76°F, perform four sets of stretch and folds spaced 30 minutes apart: wet your hand, grab one edge of the dough, pull it up until it resists, and fold it over the center, rotating the bowl a quarter turn and repeating four times per set. Then leave it alone. Bulk is finished when the dough has risen 50 percent, feels airy and jiggly, domes slightly at the edges, and shows bubbles across the surface. In a cool kitchen this can take 8 hours or more — go by how the dough looks, not the clock.
- 6
Pre-shape and rest
Scrape the dough onto a lightly floured counter. Using a bench scraper, pull it toward you in a circular motion to drag it into a loose, taut round. Don't add flour to the top. Cover with the bowl and leave it for 25 minutes so the gluten relaxes — this is what makes the final shaping easy instead of a fight.
- 7
Shape the boule
Flour a banneton or a bowl lined with a tea towel generously with rice flour, which resists sticking far better than wheat flour. Flip the rested dough so the floured side is down, fold the bottom edge up to the center, then fold the left and right sides in, and finally roll it up from the bottom toward you to make a tight ball with a visible seam. Cup your hands around it and drag it a few inches across the counter to build surface tension. Place it seam side up in the banneton.
- 8
Cold proof overnight
Cover the banneton with a shower cap or bag and refrigerate for 12 to 16 hours. The cold slows the yeast while the bacteria keep working, which is where most of the sour flavor comes from, and a chilled dough is far easier to score cleanly.
- 9
Preheat hard
At least 45 minutes before baking, put a 5- to 6-quart Dutch oven with its lid into the oven and heat to 500°F. Let it sit at full temperature for a good 20 minutes after the oven beeps — the stored heat in that heavy pot is what gives you oven spring.
- 10
Score and bake covered
Take the dough straight from the fridge, turn it out onto a square of parchment, and dust off the excess rice flour. Slash it with a lame or razor at a shallow 30-degree angle, about 1/2 inch deep, in one confident motion. Lower it into the screaming-hot pot by the parchment, put the lid on, and bake 20 minutes at 500°F.
- 11
Finish uncovered
Remove the lid, drop the oven to 450°F, and bake another 20 to 25 minutes until the crust is deep mahogany — darker than feels comfortable is usually right. The loaf should sound hollow when you thump the bottom, and a thermometer in the center should read 205 to 210°F.
- 12
Cool completely before cutting
Move the loaf to a wire rack and listen for the crust crackling as it cools. Wait at least 2 hours, ideally 4, before slicing. The crumb is still setting inside, and cutting early gives you a gummy, compressed texture that has nothing to do with how well you baked it.
You did it! Help us bring baking back home by selling your delicious baked goods on Homebaked!
Baker's Tips
- 1.
Dough temperature matters more than elapsed time. At 70°F bulk fermentation can take twice as long as at 80°F, so find the warmest spot in your kitchen in winter and shorten your timeline in summer.
- 2.
If your loaf spreads flat instead of rising tall, it almost always went too long in bulk. Pull the dough at a 50 percent rise next time, not a doubling.
- 3.
A dense, tight crumb with a gummy center means the opposite problem — underfermented dough. Give the starter a longer, warmer bulk.
- 4.
Rice flour in the banneton is worth buying a small bag for. Wheat flour absorbs moisture overnight and glues the dough to the basket.
- 5.
No Dutch oven? Bake on a preheated stone or steel with a metal roasting pan inverted over the loaf for the first 20 minutes to trap steam.
- 6.
Score with real commitment. A tentative, shallow slash seals shut in the oven and the loaf bursts open at a random weak point instead.
Equipment
- Digital kitchen scale
- Large mixing bowl or straight-sided container
- Bench scraper
- 9-inch round banneton or towel-lined bowl
- 5- to 6-quart Dutch oven with lid
- Lame or razor blade
- Instant-read thermometer
- Parchment paper
- Wire cooling rack
Storage
Store cut side down on a board or in a paper bag at room temperature for up to 3 days — the crust stays crisp this way. Once sliced into, a linen bread bag or loosely closed plastic keeps it soft for 2 to 3 days but softens the crust. Do not refrigerate, which stales bread faster than anything. For longer storage, slice fully, freeze in a zip-top bag for up to 3 months, and toast straight from frozen. A whole stale loaf revives beautifully: run it briefly under water and bake at 375°F for 10 to 12 minutes.