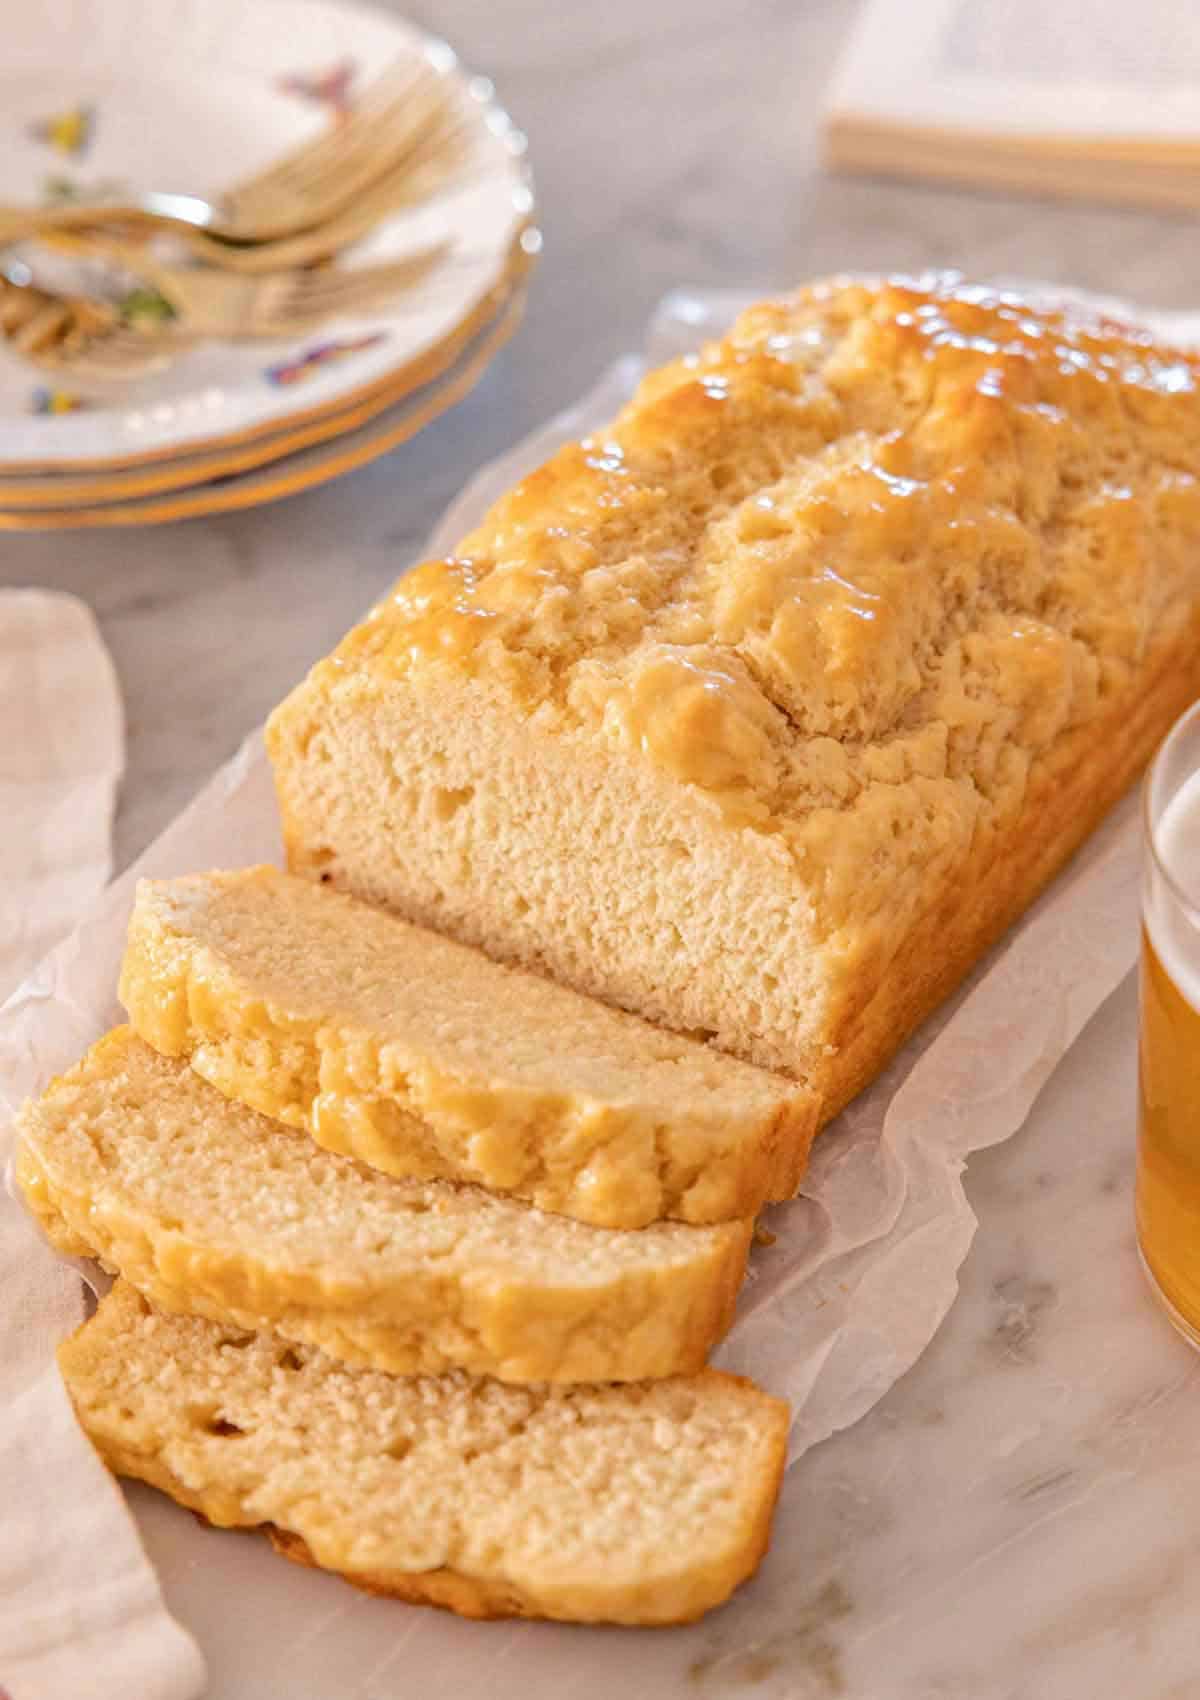
Buttery Beer Bread, Gluten Free
A one-bowl loaf with a craggy, butter-basted crust and a soft, faintly malty crumb. No yeast, no kneading, and it's in the oven five minutes after you open the bottle.
Ingredients
Makes 1 loaf (12 slices)
Batter
Instructions
- 1
Heat the oven and prep the pan
Set an oven rack in the middle position and heat the oven to 375°F (190°C). Brush a 9x5-inch metal loaf pan generously with some of the melted butter, working it into the corners.
- 2
Whisk the dry ingredients
In a large bowl, whisk the gluten-free flour blend, xanthan gum, sugar, baking powder, and salt for a full 30 seconds. Gluten-free blends are made of several starches and flours of different weights that settle in the bag, so thorough whisking matters more here than it does with wheat flour.
- 3
Combine the wet ingredients
In a separate bowl or measuring cup, whisk the egg until the yolk and white are fully blended, then whisk in the beer, pouring it slowly so it doesn't foam over. The egg replaces some of the structure gluten would normally provide and keeps the loaf from crumbling when sliced.
- 4
Mix the batter
Pour the beer mixture and 2 tablespoons of the melted butter into the dry ingredients. Stir with a spatula until smooth and evenly combined. Unlike wheat batter, there's no gluten to overwork, so mix confidently until no dry pockets remain. It should look like thick pancake batter; if yours seems thin and pourable, whisk in an extra tablespoon or two of the flour blend, since blends vary in how much liquid they absorb.
- 5
Rest the batter
Cover the bowl and let it sit on the counter for 25 minutes. This is the one step you shouldn't skip — the rice flour and starches in the blend need time to fully absorb the liquid, and a rested batter bakes up tender instead of gritty. The batter will thicken noticeably and the beer's foam will subside.
- 6
Fill the pan and butter the top
Scrape the rested batter into the pan and spread it into a roughly even layer, leaving the surface a little uneven. Drizzle about half the remaining butter over the top.
- 7
Bake and baste
Bake for 30 minutes, then brush on the last of the butter and rotate the pan. Bake another 20 to 30 minutes. Gluten-free loaves hold more moisture and need to go further than wheat ones, so trust the thermometer over the color: the center should read 205 to 210°F, and a skewer should come out clean. The top will be deep golden and firm to the touch.
- 8
Cool completely
Rest the loaf in the pan for 15 minutes, then turn it out onto a wire rack and let it cool all the way to room temperature before slicing — at least an hour. Gluten-free crumb sets as it cools, and cutting early is the fastest way to a gummy, collapsing slice.
You did it! Help us bring baking back home by selling your delicious baked goods on Homebaked!
Baker's Tips
- 1.
The beer you choose is the whole flavor profile. A lager or pilsner gives a mild, bready loaf; an amber or brown ale brings caramel depth; a stout makes it dark and almost molasses-like. Skip aggressively hoppy IPAs, which can turn bitter in the oven.
- 2.
Room-temperature beer mixes in faster and with less foam than a cold bottle, which means less stirring and a more tender crumb.
- 3.
For a savory version, fold in 1 cup of shredded sharp cheddar and a few grinds of black pepper with the dry ingredients. Toss the cheese in the flour first so it doesn't sink.
- 4.
If your pan is 8 1/2 x 4 1/2 inches, the loaf will dome higher and need an extra 5 to 10 minutes. Tent it with foil if the top darkens before the center sets.
- 5.
No beer on hand? Club soda or ginger ale works as a straight swap for the carbonation, though you'll lose the malty flavor.
- 6.
Day-old slices are excellent griddled in butter — the sugar in the crumb caramelizes beautifully.