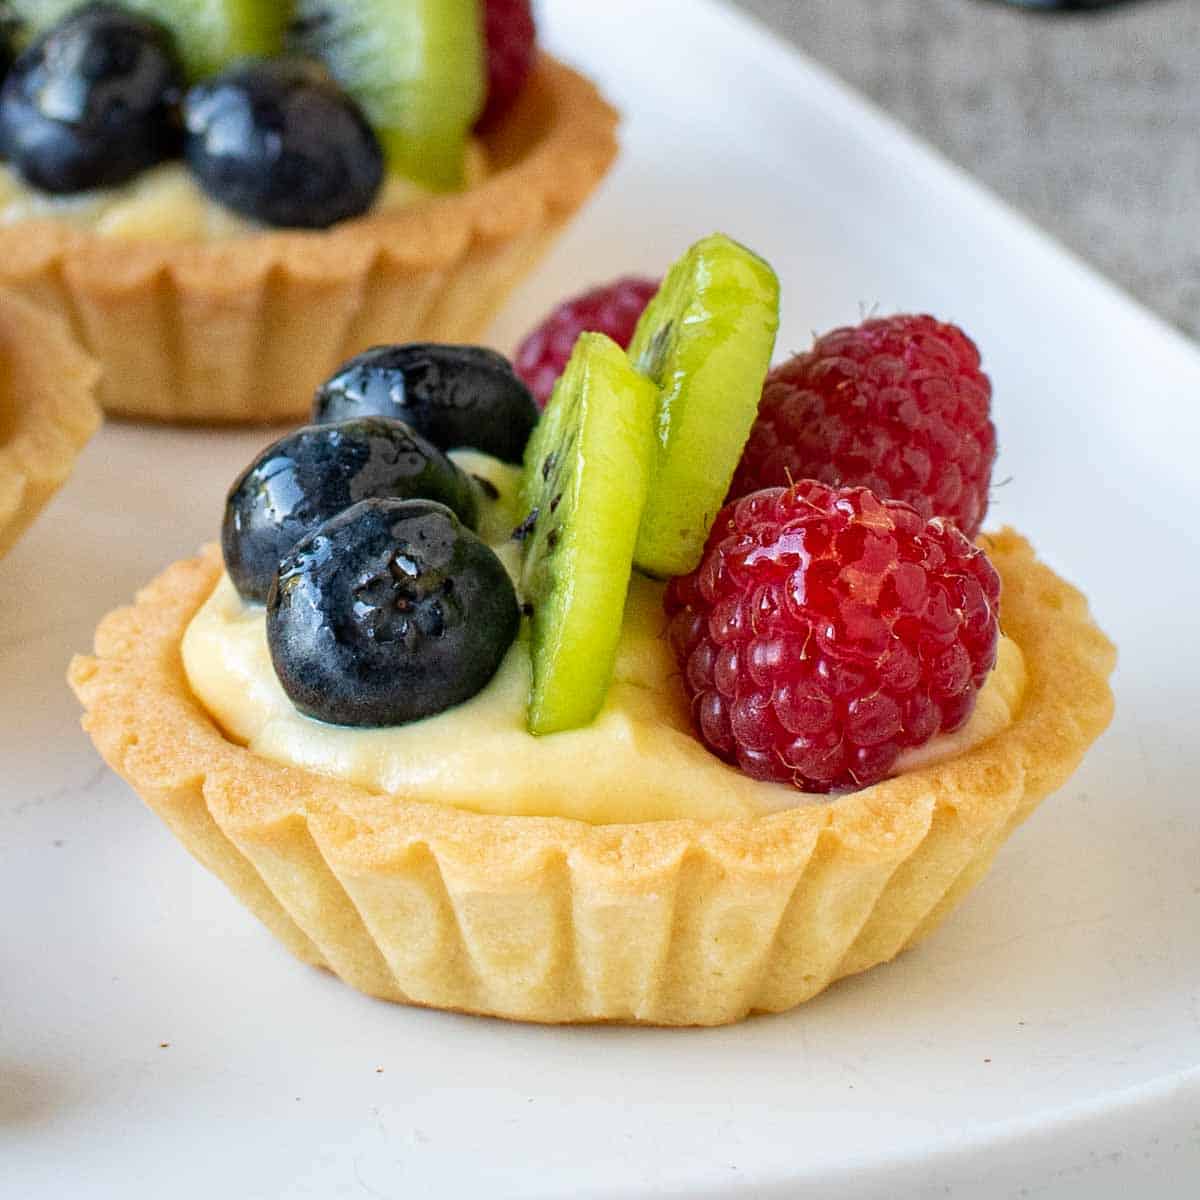
Mini Fruit Tarts, Gluten Free
Crisp, buttery pâte sucrée shells filled with silky vanilla pastry cream and piled with fresh fruit under a glossy apricot glaze. They look like they came from a pâtisserie window, but every component is make-ahead friendly.
Ingredients
Makes 12 mini tarts
Pastry Shells
Vanilla Pastry Cream
Topping and Glaze
Instructions
- 1
Mix the pastry dough
In a food processor, pulse the gluten-free flour blend, xanthan gum, powdered sugar, almond flour, and salt a couple of times to combine. Scatter the cold butter cubes over the top and pulse in short bursts until the mixture looks like coarse crumbs with a few butter pieces the size of small peas. Add the beaten egg and vanilla, then run the machine until the dough clumps together, about 20 seconds. There is no gluten to overwork here, so mix until it is genuinely cohesive rather than stopping early. By hand, rub the butter into the dry ingredients with your fingertips, then stir in the egg and vanilla with a fork.
- 2
Chill the dough
Turn the dough onto a work surface, gather it into a ball, and press it into a flat disc about an inch thick. Wrap it well and refrigerate for at least 1 hour or up to 2 days. Gluten-free starches absorb liquid slowly, so a dough that feels sandy and reluctant going into the fridge will come out noticeably smoother and more pliable. Give it the full hour at minimum.
- 3
Line the pans
Let the cold disc sit at room temperature for 5 to 10 minutes. Roll it out between two sheets of parchment to a scant 1/8 inch thick, which keeps the dough from sticking and lets you lift it without tearing. Cut twelve 3 1/2-inch rounds. If a round cracks on the way into the pan, simply press the pieces together in the cup with your fingers; gluten-free dough patches invisibly and no one will know. Settle each round into a greased muffin cup or tartlet pan, prick the bottoms with a fork, and freeze for 15 minutes.
- 4
Blind bake the shells
Heat the oven to 350°F. Press a square of parchment or a paper liner into each frozen shell and fill with weights to the rim. Bake for 15 minutes, then remove the weights and paper. Return the shells to the oven for 10 to 13 minutes more. Gluten-free shells need the longer end of that window and a deeper color than you might expect; wait for the edges to turn a clear golden brown and the bases to look dry, or the starches will stay pasty. Cool 5 minutes, then turn the shells out onto a rack while still warm.
- 5
Cook the pastry cream
Warm the milk, half the granulated sugar, and the salt in a saucepan over medium heat until steaming and barely bubbling at the edges. Meanwhile, whisk the yolks with the remaining sugar until a shade paler, then sift in the cornstarch and whisk until perfectly smooth. Pour about half the hot milk into the yolks in a thin stream while whisking constantly, then return everything to the pan.
- 6
Thicken and finish
Cook over medium heat, whisking without pause and getting into the corners of the pan, until the cream thickens and a few slow bubbles break the surface. Keep whisking for a full 30 seconds after it bubbles. That brief boil deactivates an enzyme in the yolks that would otherwise thin the cream as it sits. Off the heat, whisk in the butter and vanilla. Press the cream through a fine sieve into a shallow dish, lay plastic wrap directly on the surface, and refrigerate until cold and set, at least 2 hours.
- 7
Waterproof and fill
The chocolate seal is worth doing here rather than treating it as optional, since gluten-free shells soften faster once cream touches them. Melt the white chocolate gently, brush a thin layer over the inside of each cooled shell, and chill for 5 minutes to set. Whisk the cold pastry cream smooth, transfer it to a piping bag, and fill each shell about three-quarters full.
- 8
Top and glaze
Arrange the sliced fruit over the cream, overlapping pieces so no custard peeks through. Stir the apricot jam with the water and warm it for 10 to 15 seconds until fluid, pressing it through a sieve if chunky. Brush a thin coat over the fruit. Serve within two to three hours for the crispest shells.
You did it! Help us bring baking back home by selling your delicious baked goods on Homebaked!
Baker's Tips
- 1.
Weigh your flour if you can. A heavy-handed cup can add 20 grams, and in a dough this lean on liquid that is the difference between supple and crumbly.
- 2.
If the dough cracks as you line the pans, it is too cold. Wait two minutes and try again. If it tears and sticks, it is too warm, so chill it briefly.
- 3.
Patch any cracks in the baked shells with a smear of raw dough before the second bake, or seal them with the melted chocolate afterward. Leaks are how cream escapes.
- 4.
Fill the weights all the way to the top rim of each shell, not halfway. Supporting the full height of the walls is what keeps the sides from sagging inward.
- 5.
Choose firm fruit that holds its shape: strawberries, raspberries, blueberries, kiwi, mandarin segments, or thinly sliced stone fruit. Watery melon and overripe berries will weep into the cream.
- 6.
Both the shells and the pastry cream can be made up to two days ahead and stored separately. Assemble within a few hours of serving for the best contrast between crisp pastry and cool custard.
- 7.
If the cooked pastry cream turns lumpy, the sieve fixes it. Do not skip that step even when it looks perfect.