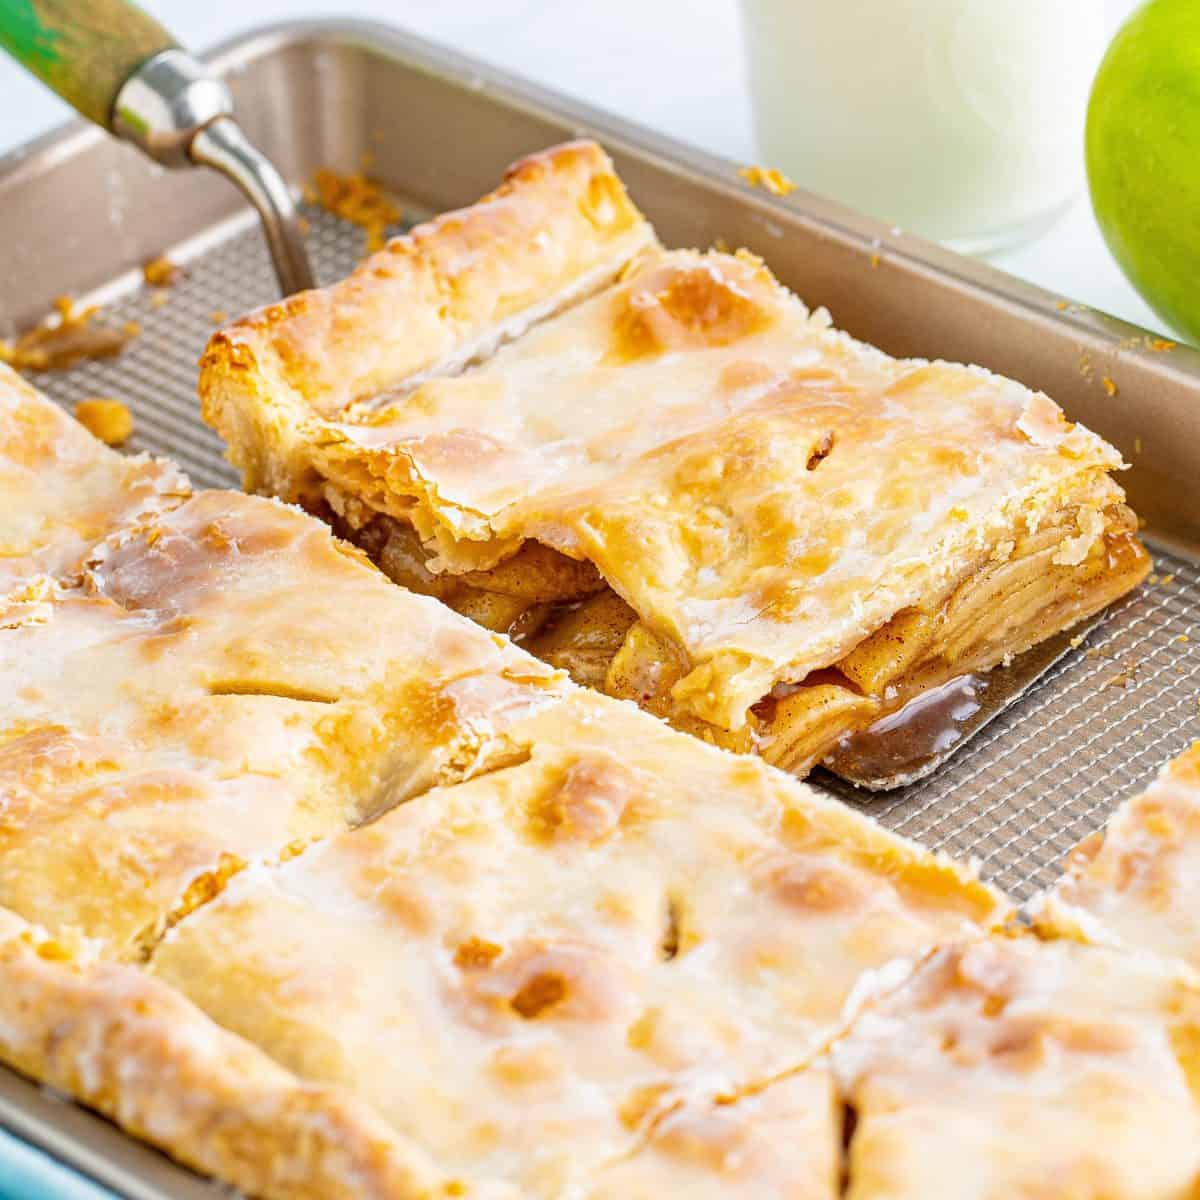
Apple Slab Pie
All the flavor of a classic double-crust apple pie, stretched across a sheet pan and cut into tidy squares. It feeds a crowd, travels well, and gives you more flaky crust per bite than any round pie ever could.
Ingredients
Makes 24 squares
Crust
Filling
Finishing
Glaze
Instructions
- 1
Cut the butter into the flour
Whisk the flour, granulated sugar, and salt together in a wide bowl. Scatter in the cold butter cubes and toss them until every piece is coated. Working quickly with your fingertips or a pastry blender, flatten the cubes into irregular flakes — you want pieces ranging from oat flakes to lima beans, not a uniform sandy crumb. Those flat sheets of butter are what steam apart into layers in the oven.
- 2
Bring the dough together
Stir the vinegar into the ice water, then drizzle it over the flour a few tablespoons at a time, tossing with a fork after each addition. Stop as soon as a handful squeezed in your palm holds together without crumbling. If it still feels dusty, add water a tablespoon at a time. Divide the dough into two pieces, one slightly larger than the other, press each into a flat rectangle, wrap tightly, and refrigerate at least 1 hour or up to 2 days.
- 3
Roll and line the pan
Let the larger rectangle sit out for 5 to 10 minutes. On a well-floured counter, roll it to roughly 18 by 13 inches, lifting and turning it often so it doesn't stick. Drape it over a 15x10x1-inch rimmed baking sheet and ease it into the corners without stretching, letting the excess hang over the rim. Slide the pan into the refrigerator while you make the filling.
- 4
Mix the filling
Heat the oven to 400°F with a rack in the lower third. Toss the sliced apples with the lemon juice in a very large bowl. In a smaller bowl, whisk both sugars with the cornstarch, cinnamon, ginger, nutmeg, and salt, breaking up any brown sugar lumps, then add it to the apples along with the vanilla and toss until the slices are evenly coated. Mix this right before you assemble — the longer it sits, the more juice the apples give up.
- 5
Fill and top
Spread the apples over the chilled bottom crust in an even layer, pressing them flat so the pie bakes level rather than domed. Roll the second piece of dough to about 16 by 11 inches and lay it over the filling. Trim both crusts to a 1/2-inch overhang, fold that rim under itself, and crimp or press it against the pan edge with a fork to seal.
- 6
Wash, sugar, and vent
Whisk the egg with the cream and brush it thinly over the whole top. Sprinkle generously with turbinado sugar, then cut a dozen or so 1-inch slits across the surface, spacing them evenly so steam escapes from the middle as well as the edges. Chill the assembled pie for 15 minutes before it goes in — cold dough holds its crimp.
- 7
Bake in two stages
Set the pan on a second baking sheet to catch drips and bake at 400°F for 20 minutes to set the bottom crust. Reduce the oven to 375°F and bake another 30 to 35 minutes, until the top is deep golden and you can see thick, glossy juice bubbling slowly through the vents. Thin, watery bubbles mean the cornstarch hasn't activated yet; give it another 5 minutes.
- 8
Cool before cutting
Transfer the pan to a wire rack and leave it for at least 1 hour. The filling is still liquid when it comes out of the oven and needs that time to set into something sliceable. If you want the glaze, whisk the powdered sugar, milk, and vanilla until smooth and drizzle it over the pie once it's barely warm, then cut 4 by 6 into 24 squares.
You did it! Help us bring baking back home by selling your delicious baked goods on Homebaked!
Baker's Tips
- 1.
Use a mix of apples — firm tart ones like Granny Smith or Northern Spy for structure, plus a softer sweet variety like Golden Delicious or Braeburn that collapses into sauce around them.
- 2.
Slice the apples a consistent 1/4 inch thick. Thick wedges stay crunchy and leave gaps under the top crust as the thinner pieces shrink.
- 3.
If the butter starts to look greasy or smeary while you're working the dough, stop and put the whole bowl in the freezer for 10 minutes.
- 4.
A pan with a true 1-inch rim matters. Anything shallower will overflow with this much filling.
- 5.
Roll the dough between two sheets of floured parchment if your counter is small or warm — it also makes transferring the big rectangle much easier.
- 6.
Bake it the day before and leave it uncovered at room temperature overnight; the crust stays crisper than it would under foil in the fridge.
- 7.
For the cleanest squares, cut with a sharp chef's knife pressed straight down rather than dragged.
Equipment
- 15x10x1-inch rimmed baking sheet (jelly roll pan)
- Second baking sheet, to catch drips
- Rolling pin
- Large mixing bowls
- Pastry blender or bench scraper
- Pastry brush
- Wire cooling rack
- Vegetable peeler and sharp knife
Storage
Keep the pie loosely covered at room temperature for up to 2 days — this is how the crust stays crispest. After that, refrigerate it for up to 5 days, covered. Reheat squares on a baking sheet at 350°F for 10 to 12 minutes to re-crisp the pastry. To freeze, cool completely, cut into squares, and freeze on a tray before transferring to an airtight container for up to 3 months; reheat straight from frozen at 350°F for about 20 minutes. Unbaked dough rectangles freeze well for 3 months, thawed overnight in the fridge before rolling.