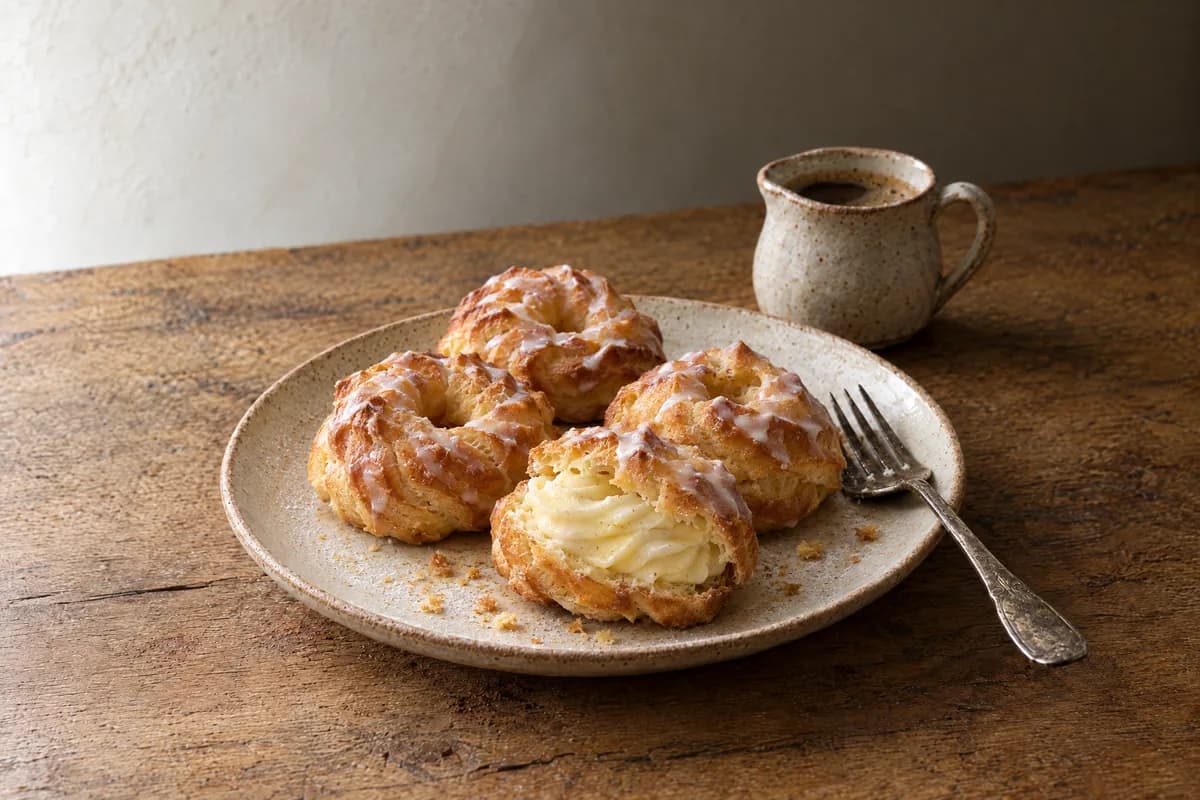
Choux Rings with Vanilla Cream, Gluten Free
Crisp, hollow rings of choux pastry baked until deeply golden, then split and piled with softly whipped vanilla cream. They look like patisserie-window work but come together from flour, butter, water, and eggs.
Ingredients
Makes 8 rings
Choux pastry
Vanilla cream filling
To finish
Instructions
- 1
Mark your rings and heat the oven
Heat the oven to 400°F (200°C) with a rack in the middle. Using a glass or cookie cutter as a guide, trace eight 3 1/2-inch circles onto two sheets of parchment, spacing them about 2 inches apart. Flip the parchment pencil-side down onto two baking sheets so the marks show through but never touch the dough. Whisk the gluten-free blend and xanthan gum together in a bowl so the gum is evenly distributed before it hits the hot liquid.
- 2
Melt and boil the liquid
Combine the water, milk, butter, granulated sugar, and salt in a medium saucepan over medium heat. Let the butter melt completely before the liquid reaches a boil, swirling the pan rather than stirring. If it boils hard while the butter is still in lumps, you lose water to steam and the paste ends up too stiff.
- 3
Cook the panade
Off the heat, add the flour and xanthan mixture all at once and beat hard until smooth. Return the pan to medium heat and beat for 3 to 4 minutes, a touch longer than with wheat flour, since the starches in a gluten-free blend need that time to swell fully. The paste will look glossier and feel tackier than a wheat version; it is ready when it holds together as a ball and films the bottom of the pan.
- 4
Cool, then add the eggs
Scrape the paste into a stand mixer bowl with the paddle and beat on low for 1 to 2 minutes to release steam. When it is just warm to the touch, around 120°F, add the beaten eggs in five or six additions, letting each disappear before the next. Hold back the last couple of tablespoons: gluten-free blends absorb egg differently from brand to brand, so you may need slightly less.
- 5
Rest the paste, then check consistency
Cover the bowl and let the paste rest for 20 minutes so the rice and starch flours hydrate fully, which is what stops the baked rings from tasting gritty. It will firm up noticeably as it sits. Beat it briefly to loosen, then test: it should fall from the paddle in a thick V-shaped ribbon and a furrow drawn through it should close over slowly. Add the reserved egg a teaspoon at a time if it is too stiff.
- 6
Pipe the rings
Fit a piping bag with a large open star tip, about 1/2 inch across. Dab a little paste under each corner of the parchment to anchor it. Pipe a continuous ring over each traced circle in one smooth motion, then pipe a second slightly smaller ring just inside the first so the two touch. Gluten-free paste holds its ridges sharply, so smooth any peaks with a wet fingertip before brushing lightly with egg wash and scattering with sliced almonds.
- 7
Bake hot, then lower
Bake one sheet at a time at 400°F for 20 minutes without opening the door. Reduce the heat to 350°F (175°C) and bake another 25 to 30 minutes. Gluten-free rings need the extra time and a genuinely deep, even brown before their walls set; if they still feel at all flexible when you tap the side, give them another 5 minutes.
- 8
Vent and dry
Pierce the side of each ring in two or three places to release the trapped steam. Turn the oven off, return the rings with the door propped open on a wooden spoon, and leave them 15 minutes to dry. The starch-based shells reabsorb moisture faster than wheat ones, so this longer dry-out is what keeps them crisp. Cool completely on a rack.
- 9
Whip the cream and fill
Whip the cold cream with the powdered sugar and vanilla to firm peaks that hold their shape but still look smooth. Split each ring with a serrated knife, using a gentle sawing motion since the shells are more brittle, then fill generously, replace the tops, and dust with powdered sugar. These are best eaten within a couple of hours of filling.
You did it! Help us bring baking back home by selling your delicious baked goods on Homebaked!
Baker's Tips
- 1.
Weigh your ingredients if you can. Choux lives or dies on the ratio of liquid to flour to egg, and a heavy-handed cup of flour is the most common reason rings bake up squat.
- 2.
Number of eggs is a guideline, not a rule. Egg size, how hard you boiled the liquid, and how long you dried the panade all change how much egg the paste will take, so always judge by the ribbon test.
- 3.
Opening the oven in the first 20 minutes vents the steam that is doing the lifting, and the rings will sink. Use the oven light instead.
- 4.
Piping a double ring gives you a sturdier, more generous pastry than a single rope, and the two strands fuse into one wide ring as they bake.
- 5.
Unfilled shells crisp back up beautifully. If they have softened, five minutes in a 325°F oven and a full cool will bring the snap back.
- 6.
For a praline version in the spirit of Paris-Brest, fold a few tablespoons of hazelnut paste into the whipped cream before filling.
- 7.
Baked, cooled shells freeze well for up to a month. Reheat from frozen at 325°F for about 8 minutes, cool, then fill.