Classic Glazed Yeast Donuts
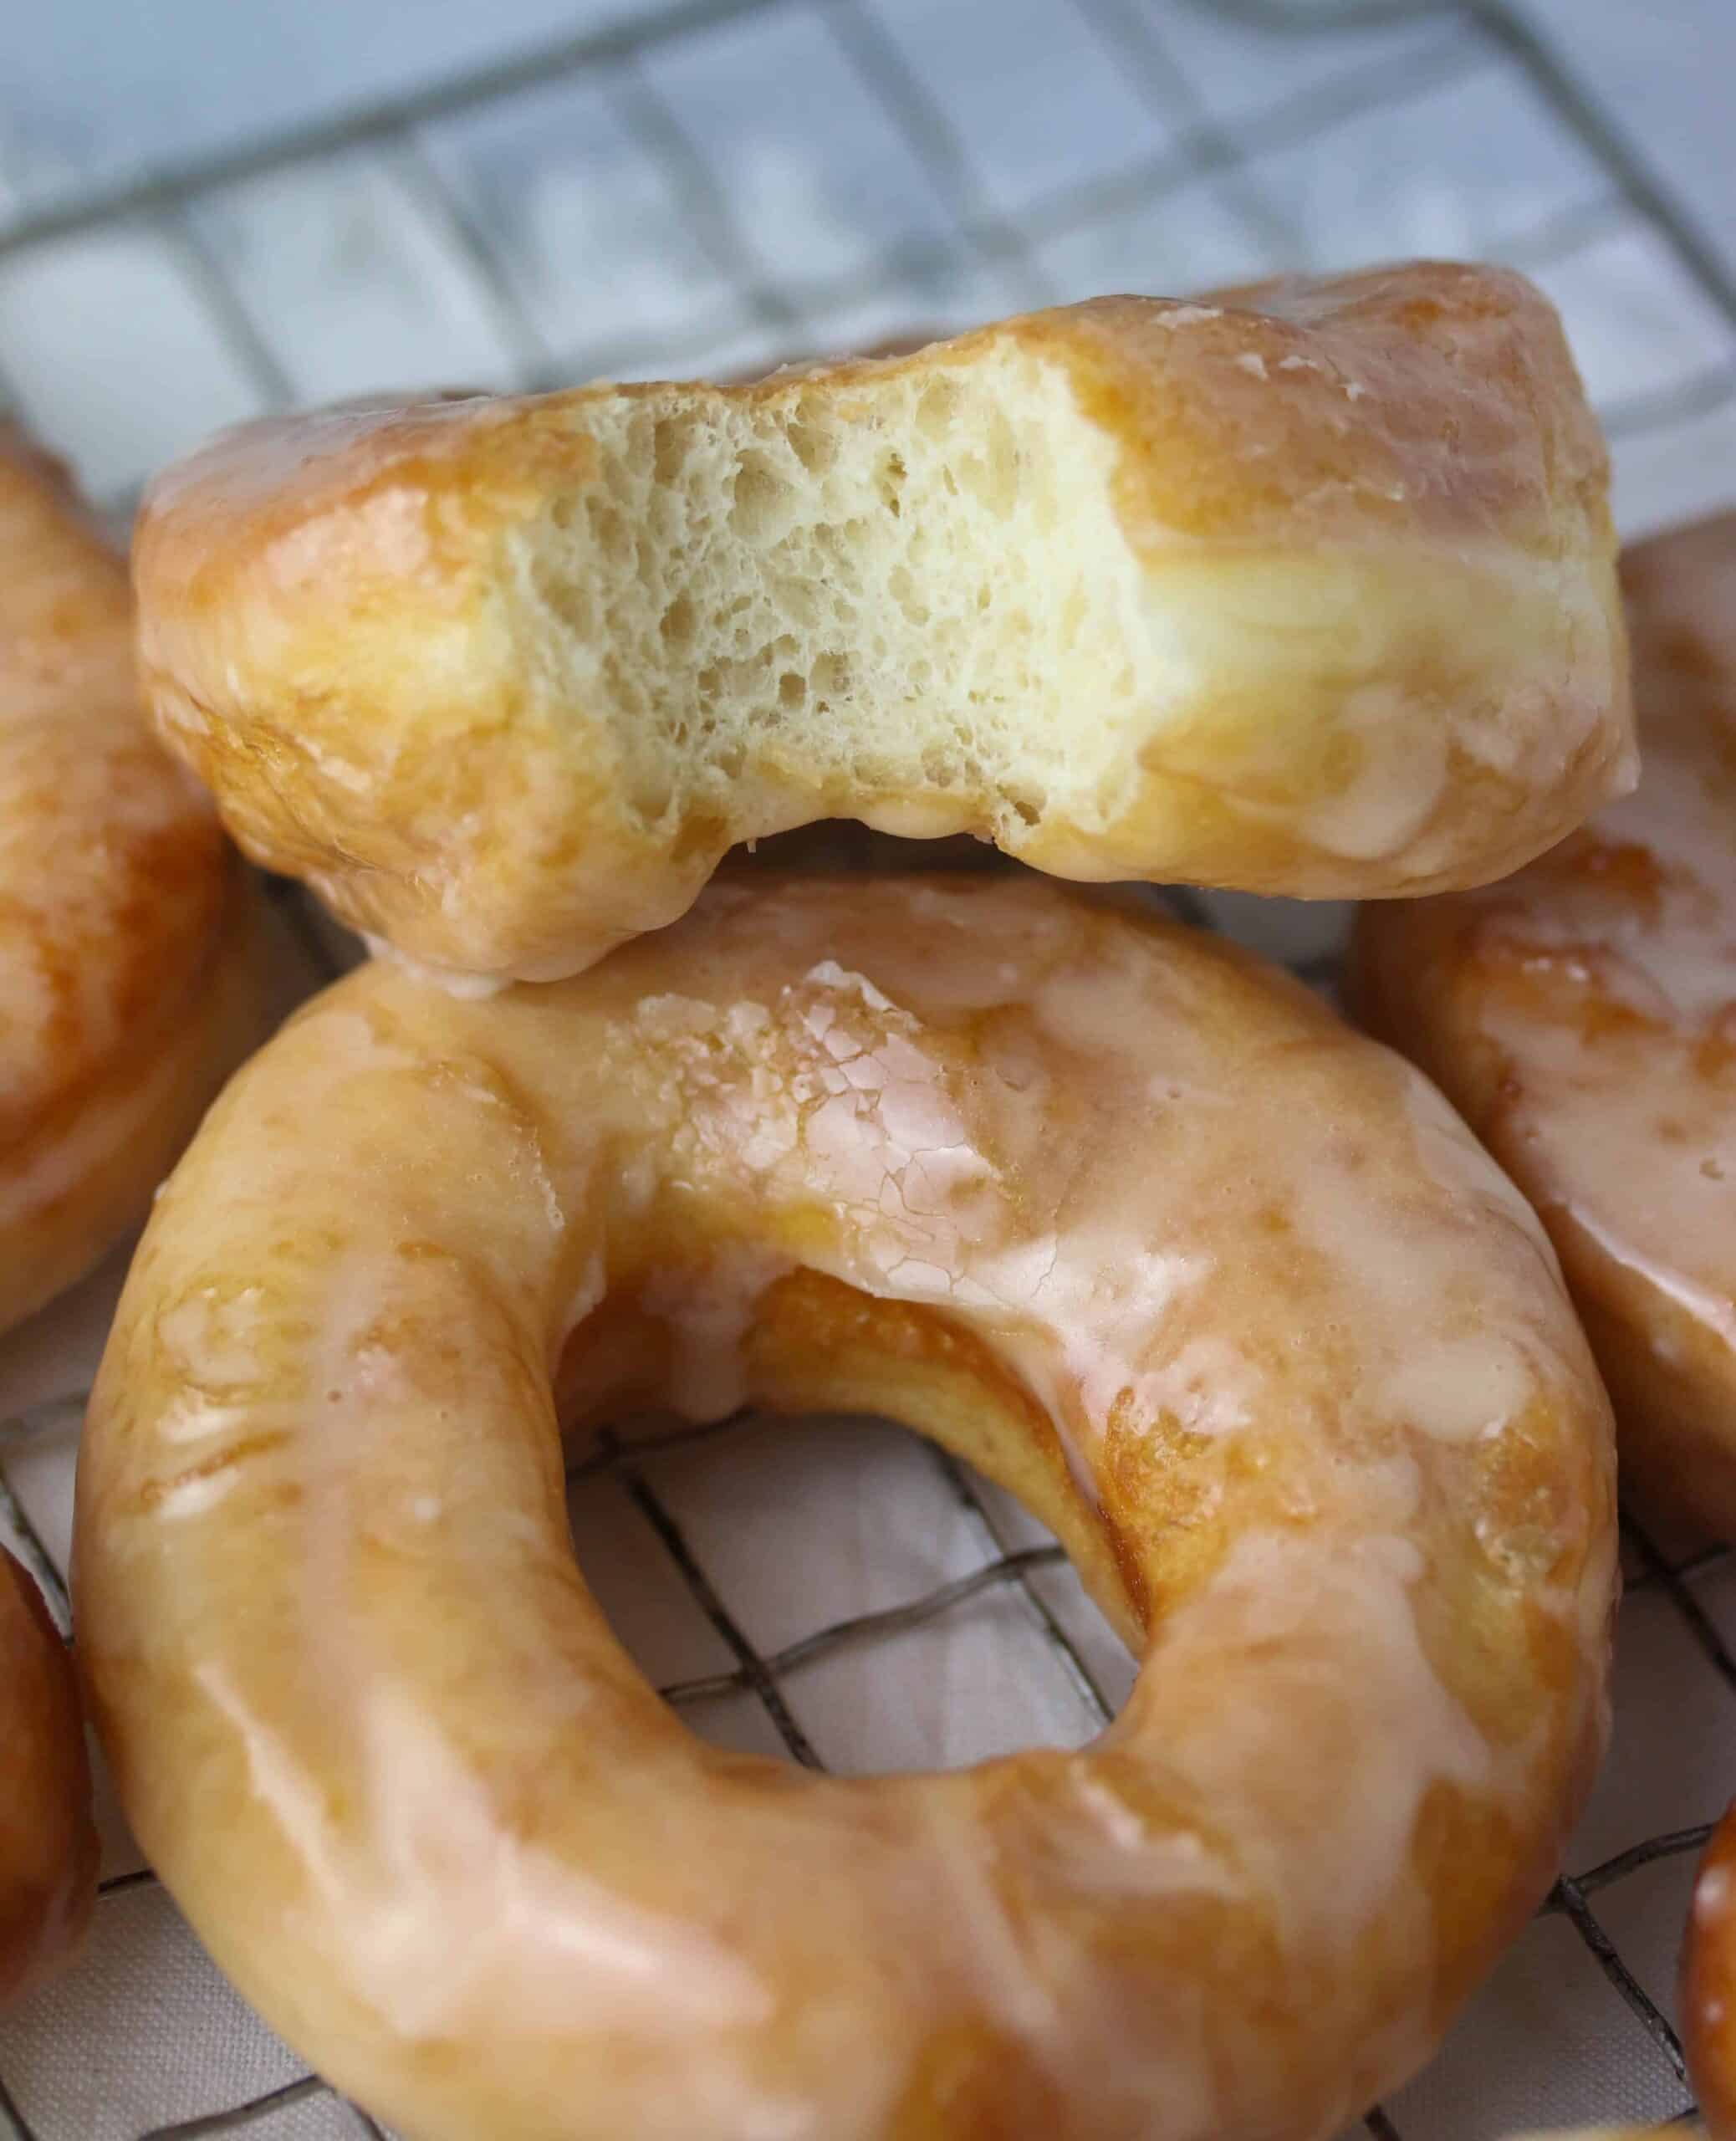
Pillowy, slow-risen donuts fried until deep gold and dunked in vanilla glaze while still warm. This is the donut-shop texture you can't buy at a supermarket: shatteringly thin crust, cloud-soft inside.
Ingredients
Makes 12 donuts plus 12 donut holes
Dough
For Frying
Vanilla Glaze
Instructions
- 1
Wake up the yeast
Warm the milk until it feels like bathwater on the inside of your wrist, around 110°F. Any hotter and you risk killing the yeast. Stir in the yeast and a pinch of the sugar, then leave it alone for 5 to 10 minutes. You're looking for a foamy, slightly domed surface. If nothing happens, your yeast is dead and it's worth starting over rather than pushing ahead.
- 2
Build the dough
In a stand mixer fitted with the dough hook, combine the yeast mixture with the remaining sugar, the eggs, melted butter, and vanilla. Add the flour, salt, and nutmeg all at once and mix on low until no dry patches remain, about 2 minutes. The dough will look shaggy and a little alarming at this stage. That's correct.
- 3
Knead until smooth and tacky
Increase to medium-low and knead for 7 to 9 minutes. The dough should pull away from the sides of the bowl but still cling to the bottom, and it should feel soft and tacky, like the back of a sticky note. Resist adding extra flour; a slack dough is what gives you a light donut. When you stretch a piece thin, it should hold a translucent window before tearing.
- 4
First rise
Scrape the dough into a lightly oiled bowl, turn it to coat, and cover. Let it rise somewhere warm for 90 minutes to 2 hours, until doubled and visibly domed. For better flavor and much easier rolling, refrigerate it overnight instead, up to 18 hours. Cold dough handles like a dream.
- 5
Roll and cut
Turn the dough onto a lightly floured surface and press out the big air bubbles with your palms. Roll to an even 1/2 inch thick. Cut rounds with a 3-inch cutter and punch the centers with a 1-inch cutter. Press straight down and lift straight up without twisting, which seals the cut edge and stunts the rise. Gather and rest the scraps 10 minutes before rerolling once.
- 6
Second proof
Set the donuts and holes on parchment squares spaced well apart on baking sheets, cover loosely with greased plastic, and proof 35 to 50 minutes. They're ready when they look visibly puffed and a light fingertip press leaves a dent that springs back slowly. Underproofed donuts fry up dense; overproofed ones collapse in the oil.
- 7
Heat the oil and mix the glaze
Pour 2 to 3 inches of oil into a heavy Dutch oven and bring it to 350°F with a clipped-on thermometer. While it heats, whisk the powdered sugar, milk, vanilla, and salt until smooth and pourable, like heavy cream. Thin with milk a teaspoon at a time if needed. Set a wire rack over a sheet pan.
- 8
Fry in small batches
Lower 2 or 3 donuts at a time into the oil, using the parchment square to carry each one and sliding it away as it hits the surface. Fry 60 to 90 seconds per side, until deep golden with a pale band around the middle. Flip once with a spider or chopsticks. Adjust the burner constantly to hold 350°F, letting the oil recover between batches. Donut holes need about 45 seconds a side.
- 9
Glaze while warm
Drain the donuts on the rack for about 2 minutes, just long enough that they won't burn your fingers. Dip each one into the glaze, turn to coat both sides, lift and let the excess run off, then return it to the rack. Glazing warm is what gives you that thin, lacquered shell rather than a thick white coating. Let them set for 15 minutes before eating.
You did it! Help us bring baking back home by selling your delicious baked goods on Homebaked!
Baker's Tips
- 1.
A thermometer is non-negotiable. Below 340°F the donuts absorb oil and taste greasy; above 365°F they brown before the centers set.
- 2.
The overnight fridge rise is the single biggest upgrade here. Cold dough rolls out cleanly, holds its shape, and tastes noticeably more complex.
- 3.
Freshly grated nutmeg is the flavor most people can't name in a bakery donut. Half a teaspoon reads as warmth, not spice.
- 4.
Cut each donut onto its own square of parchment. Carrying them to the oil by the paper keeps them from deflating on the way.
- 5.
Only reroll scraps once. The second reroll toughens the dough and those donuts fry up noticeably chewier.
- 6.
Fry the donut holes first as test subjects. They tell you whether your oil temperature and proof are both where they should be.
- 7.
For filled donuts, skip the center cut, fry the rounds whole, then pipe in jam or pastry cream with a long filling tip and roll in granulated sugar instead of glazing.
Equipment
- Stand mixer with dough hook
- Heavy Dutch oven or deep, heavy-bottomed pot
- Clip-on deep-fry or candy thermometer
- Rolling pin
- 3-inch round cutter and 1-inch round cutter (or a donut cutter)
- Spider strainer or slotted spoon
- Two rimmed baking sheets
- Wire cooling rack
- Parchment paper
Storage
Yeast donuts are at their peak within about 4 hours of frying and decline fast after that. Keep leftovers in a loosely covered container at room temperature for up to 2 days; refrigeration makes them stale and rubbery. Revive a day-old donut with 8 to 10 seconds in the microwave. To freeze, skip the glaze and freeze the fried donuts in a zip-top bag for up to 2 months, then thaw at room temperature, warm briefly in a 300°F oven, and glaze fresh. Unfried cut donuts can also be frozen after shaping, then thawed and proofed before frying.