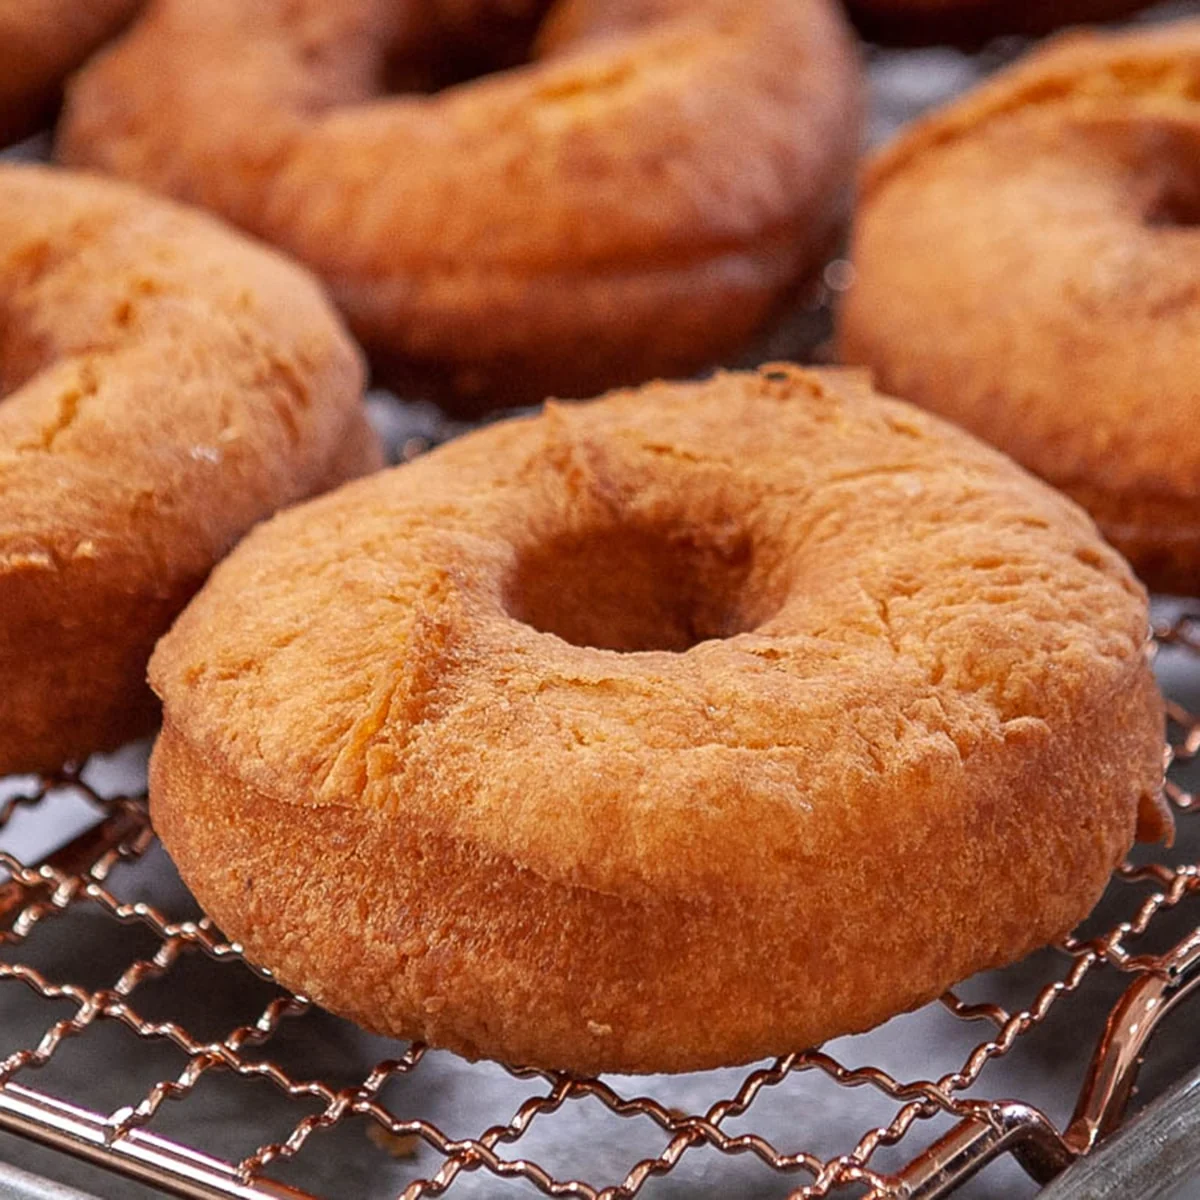
Classic Fried Cake Donuts
Tender, nutmeg-scented buttermilk donuts with craggy edges, a fluffy cakey middle, and a vanilla glaze that dries to a thin crackle. One bowl of dough, an hour in the fridge, and about a minute per side in the oil.
Ingredients
Makes 12 donuts plus 12 donut holes
Donut dough
For frying
Vanilla glaze
Instructions
- 1
Whisk the dry ingredients
In a medium bowl, whisk the flour, baking powder, baking soda, salt, nutmeg, and cinnamon together for a good twenty seconds. You want the leavening evenly dispersed now, because you'll be mixing the dough as little as possible later. Grate the nutmeg fresh if you can — the pre-ground jar loses its perfume fast, and nutmeg is the flavor that makes a cake donut taste like a cake donut rather than a fried biscuit.
- 2
Mix the wet ingredients
In a large bowl, whisk the sugar and eggs until pale and slightly thickened, about a minute by hand. Pour in the melted butter in a thin stream while whisking, then the buttermilk and vanilla. Both the eggs and buttermilk should be at room temperature; if they're fridge-cold, the melted butter will seize into little flecks and the dough will mix unevenly.
- 3
Bring the dough together
Add the dry ingredients to the wet all at once and fold with a flexible spatula just until no dry streaks remain. The dough will be soft, sticky, and a little shaggy — closer to thick cookie dough than bread dough. Stop the moment it comes together. Every extra stroke builds gluten, and gluten is what turns a tender donut into a chewy one.
- 4
Chill until firm
Scrape the dough into a clean bowl, press plastic wrap directly onto the surface, and refrigerate at least 1 hour, or up to overnight. This is not an optional rest. Cold dough rolls and cuts cleanly, holds a sharp edge in the oil, and absorbs noticeably less fat. Warm dough slumps, sticks to the cutter, and fries up greasy.
- 5
Heat the oil
Pour the oil into a heavy Dutch oven or deep skillet to a depth of about 2 inches — never more than halfway up the pot. Clip on a deep-fry thermometer and bring it to 350°F over medium heat. While it comes up, line a baking sheet with paper towels and set a wire rack over a second sheet for glazing. Getting your landing zone ready now means you aren't scrambling with hot donuts in a spider.
- 6
Roll and cut
Turn the cold dough onto a well-floured counter and dust the top and your rolling pin. Roll to an even 1/2 inch — thinner and the centers dry out, thicker and the outside browns before the middle sets. Cut with a floured 3-inch donut cutter, pressing straight down without twisting. Gather the scraps, press them gently together, and re-roll once. A second re-roll works in too much flour and the donuts turn tough.
- 7
Fry in small batches
Shake the excess flour off each donut and lower three at a time into the oil, slipping them in away from you. Fry about 1 minute per side, until deep golden and puffed, flipping once with a spider or slotted spoon. Donut holes need only 30 to 45 seconds a side. Watch the thermometer between batches and let the oil climb back to 350°F each time — crowded, cool oil is the single most common reason homemade donuts come out heavy and oil-logged. Drain briefly on the paper towels, then move to the rack.
- 8
Glaze while barely warm
Whisk the powdered sugar, milk, vanilla, and salt until smooth and pourable, roughly the consistency of heavy cream. Add milk a half teaspoon at a time if it's too stiff. Dip each donut face-down, lift, let the excess drip off, and set it back on the rack. Glazing while the donuts are still slightly warm lets the glaze thin out and settle into a smooth, even coat that dries to a crackle in about 20 minutes.
You did it! Help us bring baking back home by selling your delicious baked goods on Homebaked!
Baker's Tips
- 1.
Fry one test donut first. If it browns before the center cooks, your oil is too hot; if it sits there looking pale and soaking up fat, it's too cool. Adjust before committing a batch.
- 2.
No donut cutter? A 3-inch biscuit cutter or drinking glass plus a 1-inch piping tip or bottle cap for the hole works perfectly well.
- 3.
For cinnamon-sugar donuts instead of glazed, skip the glaze and toss them in 1/2 cup granulated sugar whisked with 1 1/2 teaspoons cinnamon while they're still hot — the coating only clings to a warm, just-drained surface.
- 4.
A heavy pot matters more than you'd think. Thin pans lose heat the instant cold dough hits them, and the temperature crash is what makes donuts greasy.
- 5.
Strain the cooled frying oil through a coffee filter into a jar and it's good for two or three more fries.
- 6.
If you'd rather bake these, the dough is too soft to be a drop-in substitute — this formula is built for the oil.
Equipment
- Heavy Dutch oven or deep skillet
- Deep-fry or instant-read thermometer
- 3-inch donut cutter
- Rolling pin
- Spider strainer or slotted spoon
- Wire cooling rack
- Two rimmed baking sheets
- Large mixing bowls
Storage
Cake donuts are at their best within about four hours of frying. Keep leftovers in a loosely covered container at room temperature for up to 2 days — a fully airtight container traps steam and softens the crust. Don't refrigerate; it dries them out and turns the glaze tacky. To freeze, fry and cool the donuts without glazing, wrap individually, and freeze up to 2 months. Thaw at room temperature, warm for 5 minutes in a 300°F oven, then glaze.