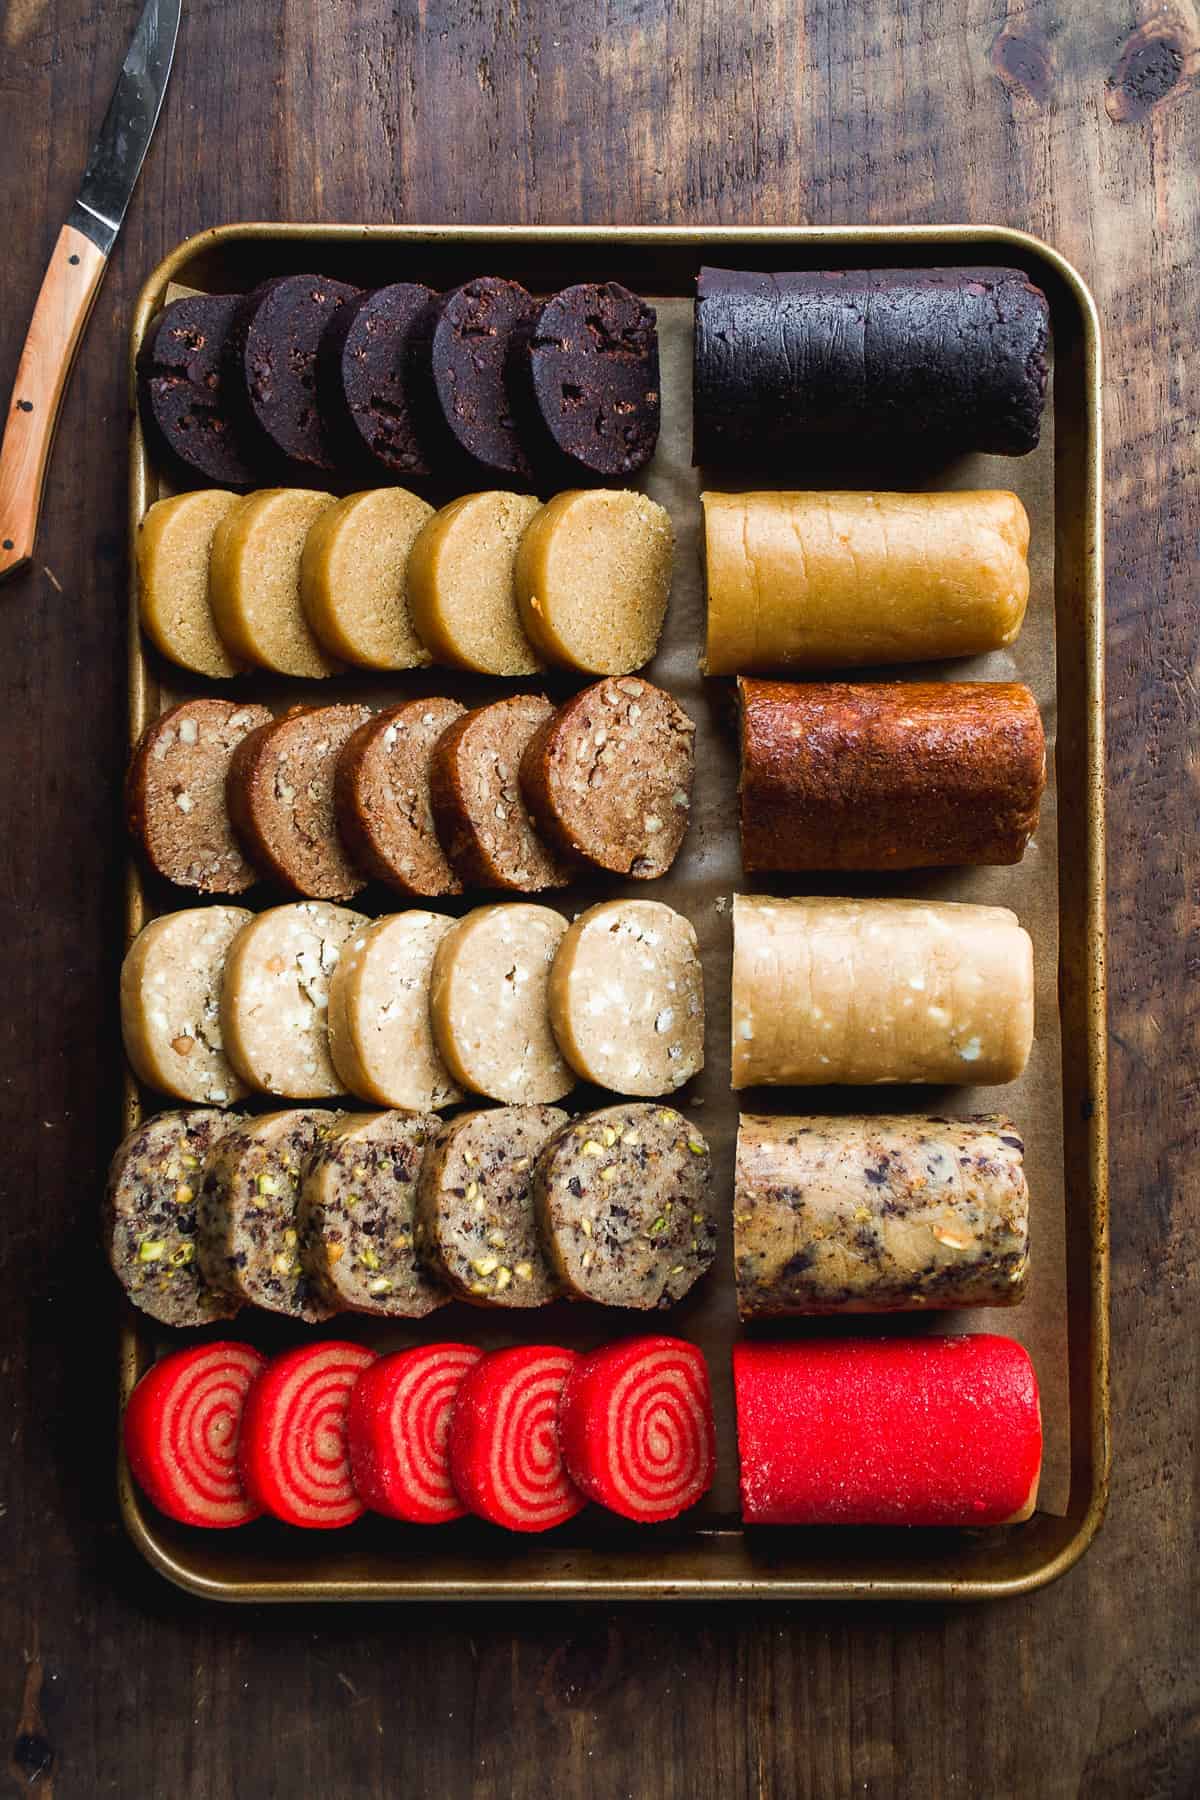
Slice & Bake Cookies, Gluten Free
One buttery vanilla dough, rolled into logs and parked in the fridge until you want cookies. Slice off as many rounds as you need and bake — crisp sugared edges, tender sandy centers, zero last-minute mixing.
Ingredients
Makes 36 cookies
Dough
Coating
Instructions
- 1
Cream the butter and sugars
Beat the softened butter with the granulated and powdered sugars on medium-high speed for 3 to 4 minutes, until pale and noticeably lighter in texture. The powdered sugar's cornstarch keeps the crumb short and sandy, which is exactly what makes a sliced cookie snap cleanly instead of bending.
- 2
Add the yolks, vanilla, milk, and salt
Beat in the egg yolks one at a time, then the vanilla, milk, and salt, scraping the bowl well after each addition. The tablespoon of milk is specific to this version — gluten-free starches drink up liquid, and that extra moisture is what keeps the baked cookie from tasting chalky.
- 3
Work in the flour
Whisk the gluten-free blend, xanthan gum, and baking powder together so the gum is evenly dispersed, then add it all at once and mix on low just until the dry streaks disappear. Check your blend's label first: measure-for-measure flours usually already contain xanthan gum, and doubling up makes the cookies gummy.
- 4
Rest the dough
Cover the bowl and leave the dough at room temperature for 30 minutes before shaping. This is the step that separates a good gluten-free cookie from a gritty one — the rice and starch flours need that time to absorb moisture and swell. The dough will go from looking slightly sandy to smooth and pliable, and it will roll into a log without cracking.
- 5
Roll into logs
Divide the rested dough in half and roll each half into a log about 9 inches long and 1 3/4 inches thick. If a crack opens along the side, just press it closed with your palm. Wrap each log snugly in plastic wrap or parchment and twist the ends closed to compact the dough.
- 6
Chill until firm
Refrigerate the wrapped logs at least 4 hours, ideally overnight. They keep 5 days in the fridge or 3 months in the freezer. For round cookies rather than one flat side, nest the logs in a crumpled kitchen towel and give them a quarter turn every 15 minutes for the first hour.
- 7
Coat and slice
Heat the oven to 350°F and line two sheet pans with parchment. Unwrap one log, brush lightly with water, and roll it through the sanding sugar. Slice into 1/2-inch rounds with a long, sharp knife, rotating the log a quarter turn every few cuts. Gluten-free dough is more brittle straight from the fridge, so let the log sit out 5 minutes before the first cut and press any crumbled edges back into the round.
- 8
Bake
Space the rounds 2 inches apart and bake 14 to 16 minutes, one pan at a time. Go by color rather than feel: you want clear golden edges and a matte, set surface. Gluten-free cookies stay noticeably softer in the center at the moment they come out, so pulling them when they still feel underdone in the middle is correct.
- 9
Cool completely on the pan
Leave these on the hot pan for a full 10 minutes before moving them — longer than the wheat version. Without gluten, the structure sets entirely as the cookie cools, and lifting them early will snap them in half. Transfer to a rack and let them cool fully to reach their proper crisp bite.
You did it! Help us bring baking back home by selling your delicious baked goods on Homebaked!
Baker's Tips
- 1.
A warm log is the enemy of a clean slice. If the dough softens while you work, put it back in the fridge for 15 minutes — cold dough gives you sharp, even rounds and cookies that hold their shape.
- 2.
Wipe your knife blade between every few cuts. Sugar and butter build up on the edge and start dragging the dough instead of cutting it.
- 3.
Fold up to 3/4 cup of finely chopped add-ins into the finished dough: toasted pecans, mini chocolate chips, dried cranberries, or citrus zest. Keep the pieces small, or the log will tear apart at the slices.
- 4.
Freeze one log and bake the other. Frozen logs slice beautifully straight from the freezer — just let them sit on the counter 10 minutes to take the hardest edge off, and add a minute or two to the bake time.
- 5.
Thickness controls the texture. Slice at 1/4 inch for thin, snappy cookies (bake 10 to 11 minutes) or a full 1/2 inch for a tender, shortbread-like center.
- 6.
Rolling the log in sanding sugar before slicing gives every cookie a sparkling sugared rim with no extra effort. Finely chopped nuts or sprinkles work the same way.