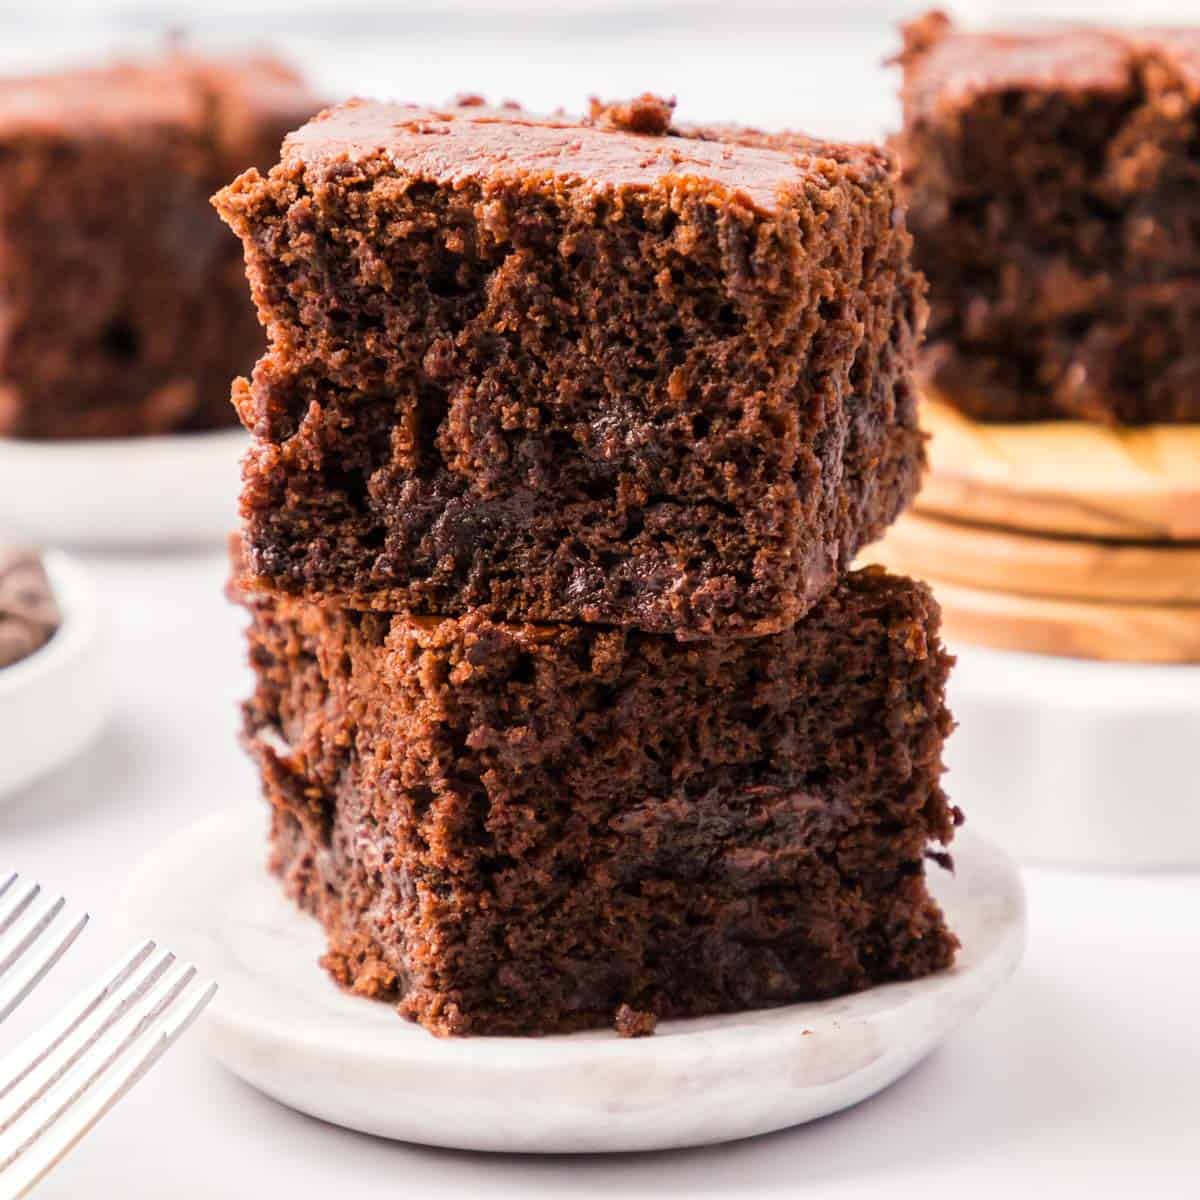
Cakey Brownies, Gluten Free
Tall, tender brownies with a soft cake crumb and deep cocoa flavor, finished with a thin matte crust. All the chocolate of a classic brownie, with a lighter bite.
Ingredients
Makes 16 brownies
Dry ingredients
Wet ingredients
Mix-ins
Instructions
- 1
Heat the oven and line the pan
Set a rack in the center of the oven and heat it to 350°F (175°C). Grease a 9-inch square metal pan, then line it with a strip of parchment that runs up two opposite sides with a couple of inches hanging over. Those flaps are your handles later. Metal is worth seeking out here; glass holds heat longer and tends to overbake the edges before the middle sets.
- 2
Whisk the dry ingredients
In a medium bowl, whisk the gluten-free flour blend, xanthan gum, sifted cocoa, baking powder, salt, and espresso powder for a good 30 seconds, until the color is completely even. Gluten-free blends separate in the bag, and the xanthan gum needs to be dispersed evenly or you'll get gummy pockets. Check your blend's label first: if xanthan gum is already in the ingredient list, leave it out here.
- 3
Cream the butter and sugars
Beat the softened butter with both sugars on medium-high speed for a full 3 to 4 minutes, until the mixture turns noticeably paler and looks fluffy rather than grainy. This is the step that makes these cakey instead of dense, so don't cut it short. With no gluten network to trap gas, the air you beat in now is doing even more of the structural work.
- 4
Add eggs and vanilla
Drop in the eggs one at a time, beating about 30 seconds after each and scraping the bowl down between additions. Wait until each egg disappears before adding the next. Beat in the vanilla. The batter should look smooth and a little billowy. If it looks curdled, your eggs were too cold; keep beating and it will come back together.
- 5
Alternate dry ingredients and milk
On low speed, add a third of the dry mixture, then half the milk, then another third of the dry, the rest of the milk, and finally the last of the dry. Mix just until no dry patches remain, then finish with a spatula. There's no gluten to toughen, so a little extra mixing is harmless, but stop once it's uniform. The batter will look slightly thinner and grittier than a wheat version at this point, which is exactly right.
- 6
Fold in the chocolate and rest the batter
Fold in the chocolate chips, holding back a small handful. Scrape the batter into the pan, smooth it level, and scatter the reserved chips on top. Now let the pan sit on the counter for 25 to 30 minutes before baking. The rice flours and starches in the blend need that time to drink up the milk, and skipping it is the single biggest cause of sandy, gritty gluten-free brownies. The batter will visibly thicken and lose its grainy look as it hydrates.
- 7
Bake
Bake for 34 to 40 minutes, a little longer than the wheat version since the rested batter goes into the oven cooler and holds more moisture. The top should spring back under a light press and a skewer in the center should come out with dry crumbs only. Gluten-free bakes can look set on top while the middle is still loose, so trust the skewer over the surface.
- 8
Cool completely before cutting
Cool in the pan on a wire rack for at least 45 minutes, then lift the slab out by the parchment and let it cool fully on the rack. Give these the full cooling time; gluten-free crumb firms up as the starches set, and a warm slab will crumble under the knife. Cut into 16 squares, wiping the blade between cuts.
You did it! Help us bring baking back home by selling your delicious baked goods on Homebaked!
Baker's Tips
- 1.
Softened butter should dent under your finger but still hold its shape, around 65°F. Too warm and it won't hold the air you beat into it, which flattens the crumb.
- 2.
The espresso powder won't make these taste like coffee. It sharpens the cocoa and makes the chocolate read deeper and less sweet.
- 3.
Dutch-process cocoa gives a darker color and smoother, mellower flavor; natural cocoa is fruitier and more acidic. Either works since baking powder is doing the lifting.
- 4.
For an even taller, more delicate crumb, swap the all-purpose flour for 1 3/4 cups cake flour (193g).
- 5.
Resist opening the oven before the 28-minute mark. These rely on trapped air and steam, and an early draft can settle the center.
- 6.
A dusting of powdered sugar over the cooled slab is the traditional finish, but a thin chocolate glaze or cream cheese frosting both suit this cakey texture well.