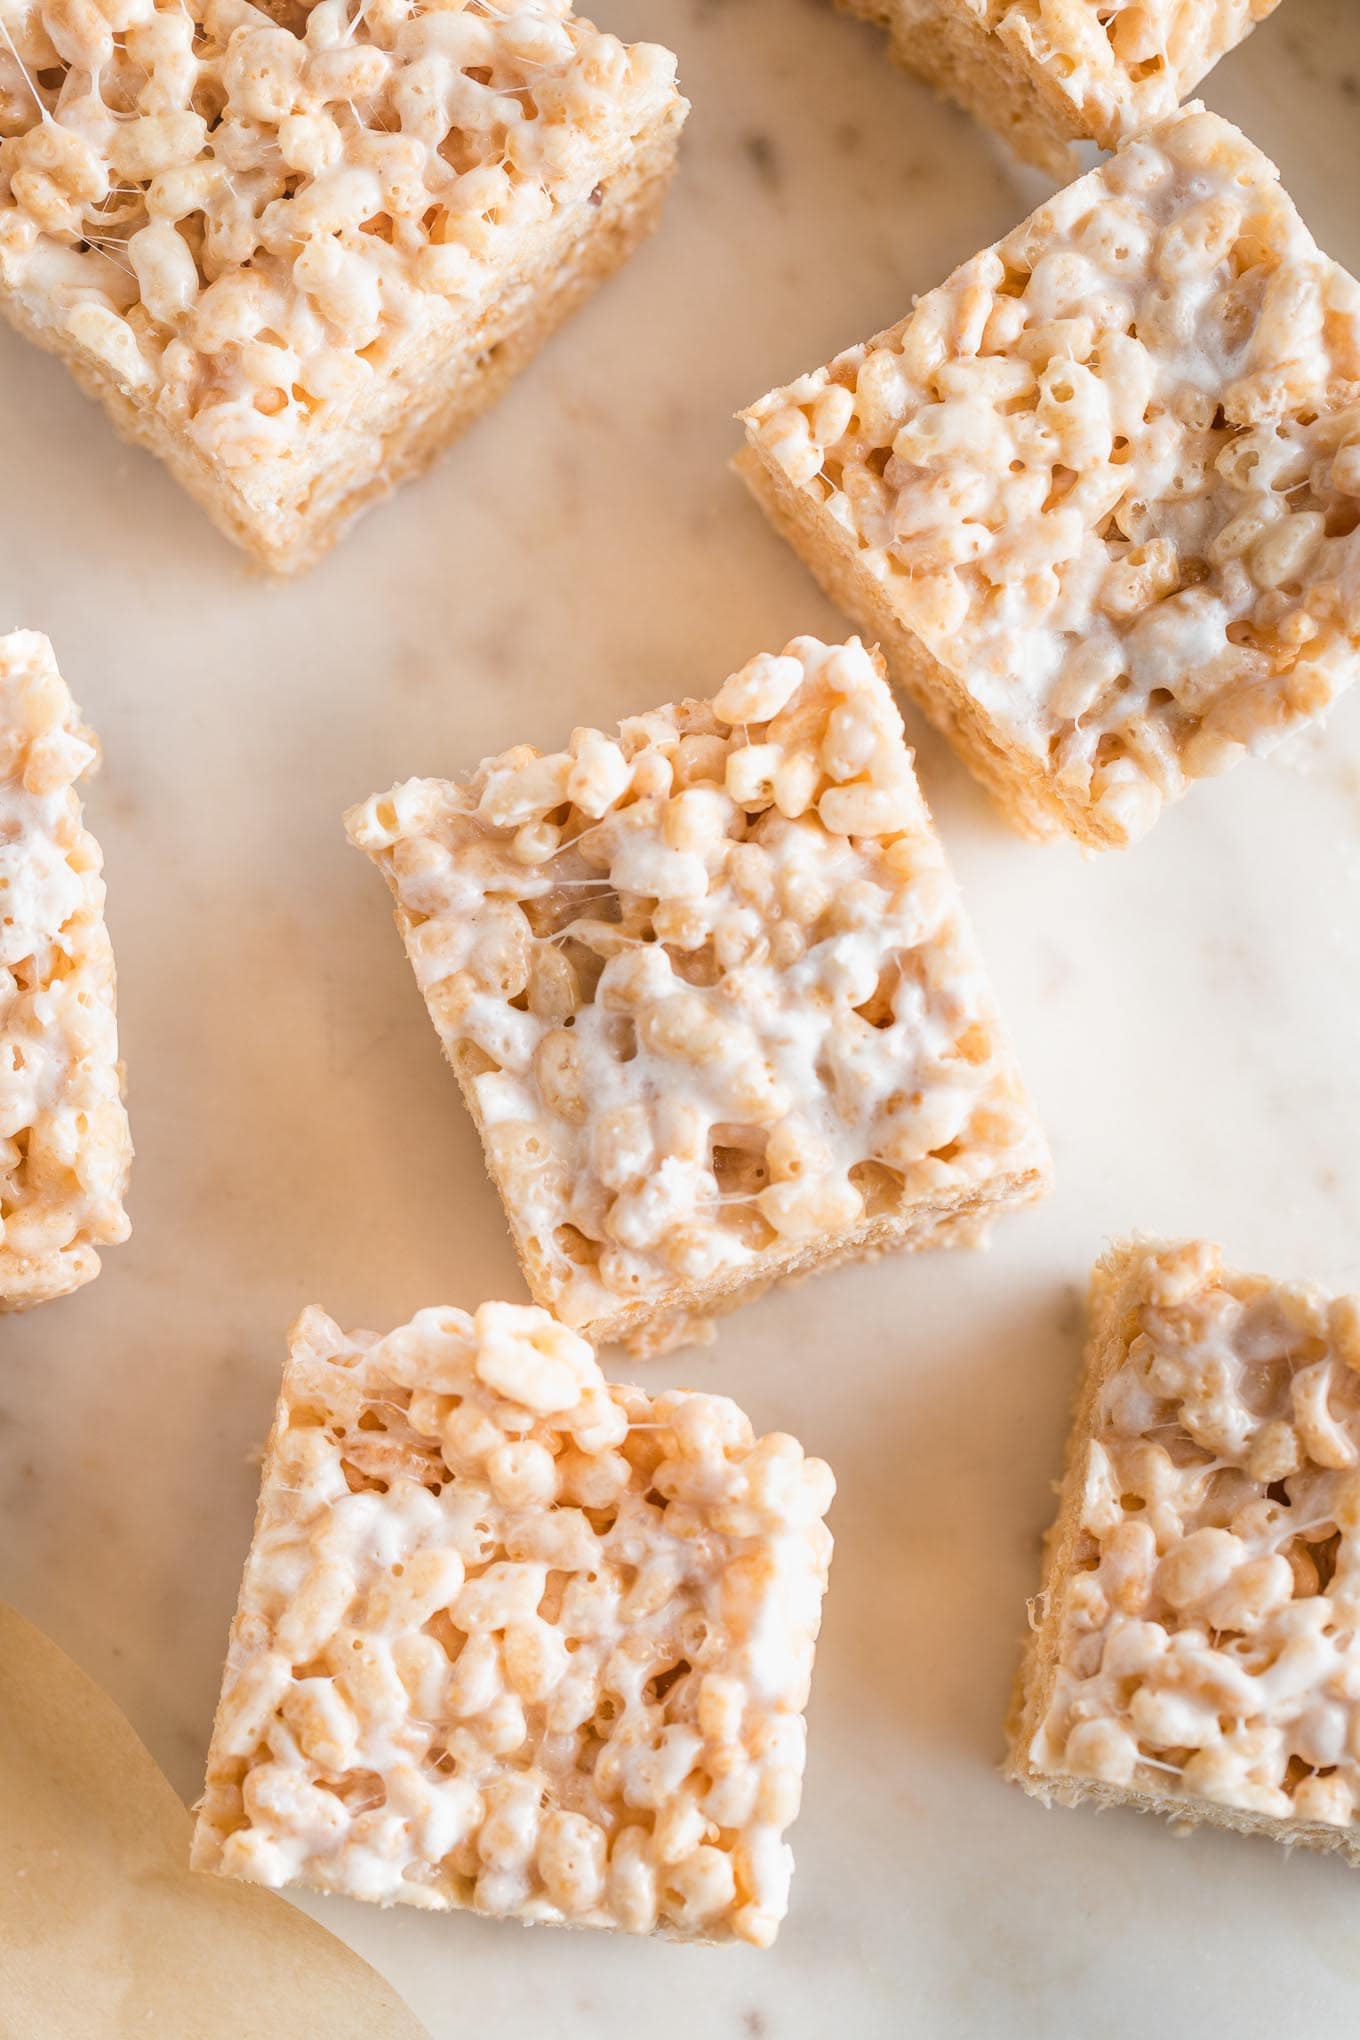
Brown Butter Rice Crispy Treats, Gluten Free
Nutty browned butter, a generous hit of marshmallow, and a handful stirred in at the last second for gooey pockets. These stay soft and chewy for days instead of turning into a brick overnight.
Ingredients
Makes 24 bars
Treats
For Finishing
Instructions
- 1
Set up before you turn on the heat
Rub a 9x13-inch pan with the butter meant for greasing, getting the corners and sides. Measure the gluten-free cereal into a very large bowl and keep it within arm's reach, with the 2 cups of fold-in marshmallows beside it. Weigh the cereal if you can, since gluten-free brown rice crisps are lighter and denser than standard puffed rice and cup measures vary a lot between brands. Once the marshmallow is melted, this moves fast.
- 2
Brown the butter
Melt the butter in a large pot over medium heat, then keep cooking and swirling the pan. It will foam up, go quiet, and then you'll see the milk solids at the bottom turn amber and start to smell nutty and toasted. That's the finish line, usually 5 to 7 minutes. Pull it off the heat the moment it gets there, because it goes from golden to burnt in about thirty seconds.
- 3
Melt the marshmallows with milk
Lower the heat to low, return the pot to the burner, and add the milk along with the 9 cups of marshmallows. Stir steadily until smooth and glossy. The milk is there because gluten-free rice crisps are sturdier and drink up syrup more slowly, and that extra bit of moisture keeps the coating loose enough to spread over every piece before it starts to set.
- 4
Season off the heat
Take the pot off the burner and stir in the vanilla and fine sea salt. The mixture will loosen slightly and smell like toasted marshmallow and caramel.
- 5
Fold in the cereal
Pour the marshmallow mixture over the cereal and fold with a greased spatula, scooping from the bottom and turning it over. Gluten-free crisps take a few extra folds to coat evenly, so keep going until you don't see any dry, pale pieces, roughly 45 seconds. Scatter the reserved marshmallows over the top and fold three or four more times so they stay mostly whole.
- 6
Press into the pan, gently
Scrape the mixture into the prepared pan. Butter your hands or lay a sheet of parchment on top, then press just until level and into the corners. Light pressure only. Gluten-free crisps are more brittle than wheat-flavored puffed rice and will shatter into dust if you compact them hard, which gives you a sandy bar.
- 7
Cool, salt, and cut
Sprinkle the flaky salt over the top while the surface is still tacky. Let the pan rest at room temperature for a full hour. Gluten-free treats need a little longer than standard ones to soften and settle, and the texture goes from crunchy to properly chewy during that time. Cut into 24 bars with a long sharp knife, wiping the blade between cuts.
You did it! Help us bring baking back home by selling your delicious baked goods on Homebaked!
Baker's Tips
- 1.
Use marshmallows from a freshly opened bag. Older ones dry out, resist melting, and leave you stirring over heat far longer than you should, which is what makes treats turn out hard.
- 2.
Brown the butter in a light-colored pot if you have one. In a dark pot you can't see the milk solids changing color, and your only warning is the smell.
- 3.
Weigh the cereal if you can. A cup of crisp rice is about 30g, but it compacts easily in the measuring cup, and an extra cup or two of cereal is the difference between chewy and dry.
- 4.
Press with a buttered sheet of parchment rather than your hands if you want perfectly flat tops with zero compacting.
- 5.
For a thicker, bakery-style bar, use an 8x8-inch pan and half the recipe, then let it set a full hour before cutting.
- 6.
A handful of mini chocolate chips folded in with the reserved marshmallows works well, but add them last and work quickly so they don't melt into streaks.